
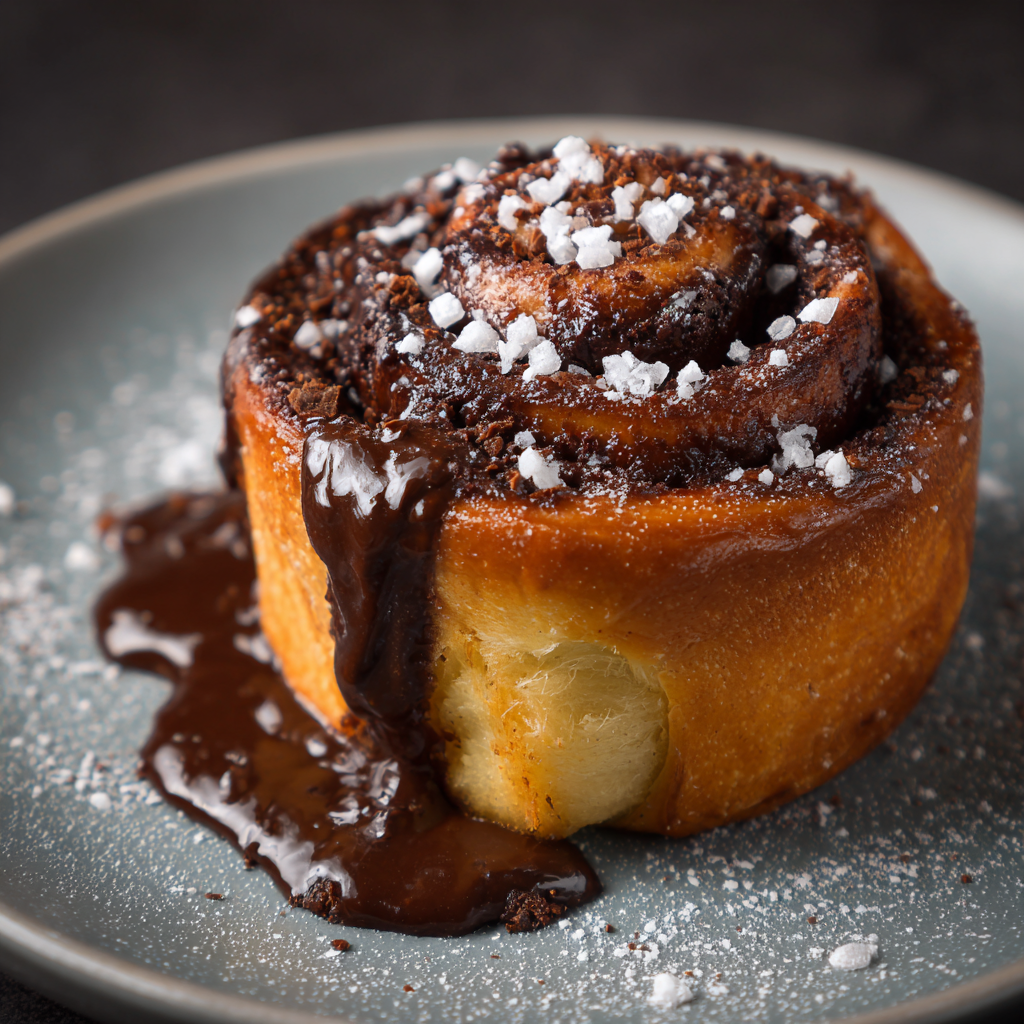
It’s one of those incredibly satisfying things to do at home. From your kitchen comes warm, tender goodies straight out of the oven. What’s not comforting about that? This Simple Chocolate Bun Recipe is for home bakers of all levels, including first-timers. Even if you have never made bread before, these are easy to do and delicious in any case.
Contrary to store-bought buns, homemade chocolate buns are freshly fragrant, preservative-free, and very personalized. Sweetness can depend on your preferences, Chocolates used should be–or flavors picked to suit them, and it’s just possible that there are nuts, sprinkles, or glaze. And guess what? As soon as those buns come out of the oven, your whole house is going to smell divine!
“Baking is both an art and a science. With simple ingredients and patience, you can create magic in your kitchen.” – Anonymous
According to the method, not only can you make soft, fluffy, chocolatey buns, but it also teaches a number of basic techniques used in baking that can then be applied to other recipes.
This food suits any occasion: You can have it at breakfast, in buns for your children; likewise, when friends come over, serve it as a cake or dessert.
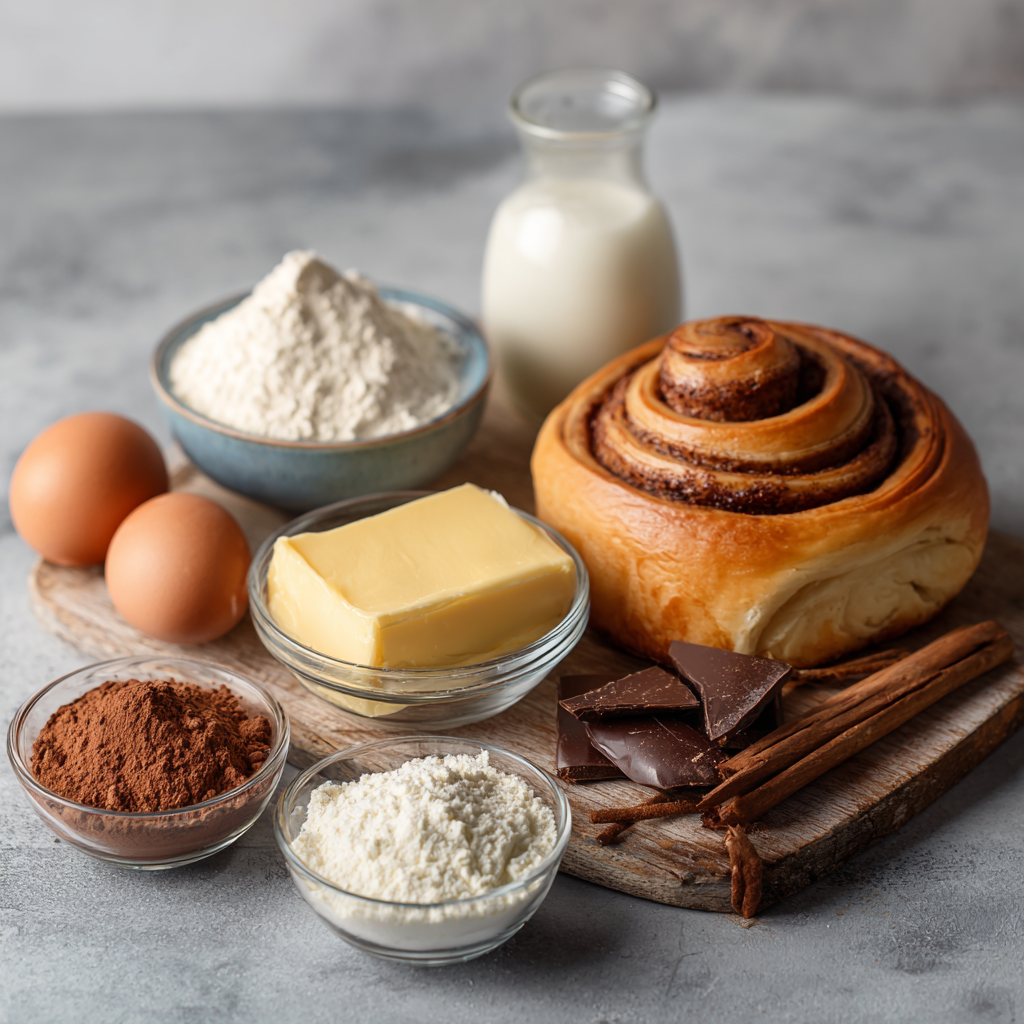
- Ingredients Needed for Simple Chocolate Bun Recipe
- Equipment Required
- Step-by-Step Simple Chocolate Bun Recipe
- Tips and Tricks for Perfect Chocolate Buns
- Variations of the Simple Chocolate Bun Recipe
- Frequently Asked Questions (FAQ)
- Serving Ideas and Pairings
- Conclusion – Why You Should Try This Simple Chocolate Bun Recipe Today
- Share Your Twist!
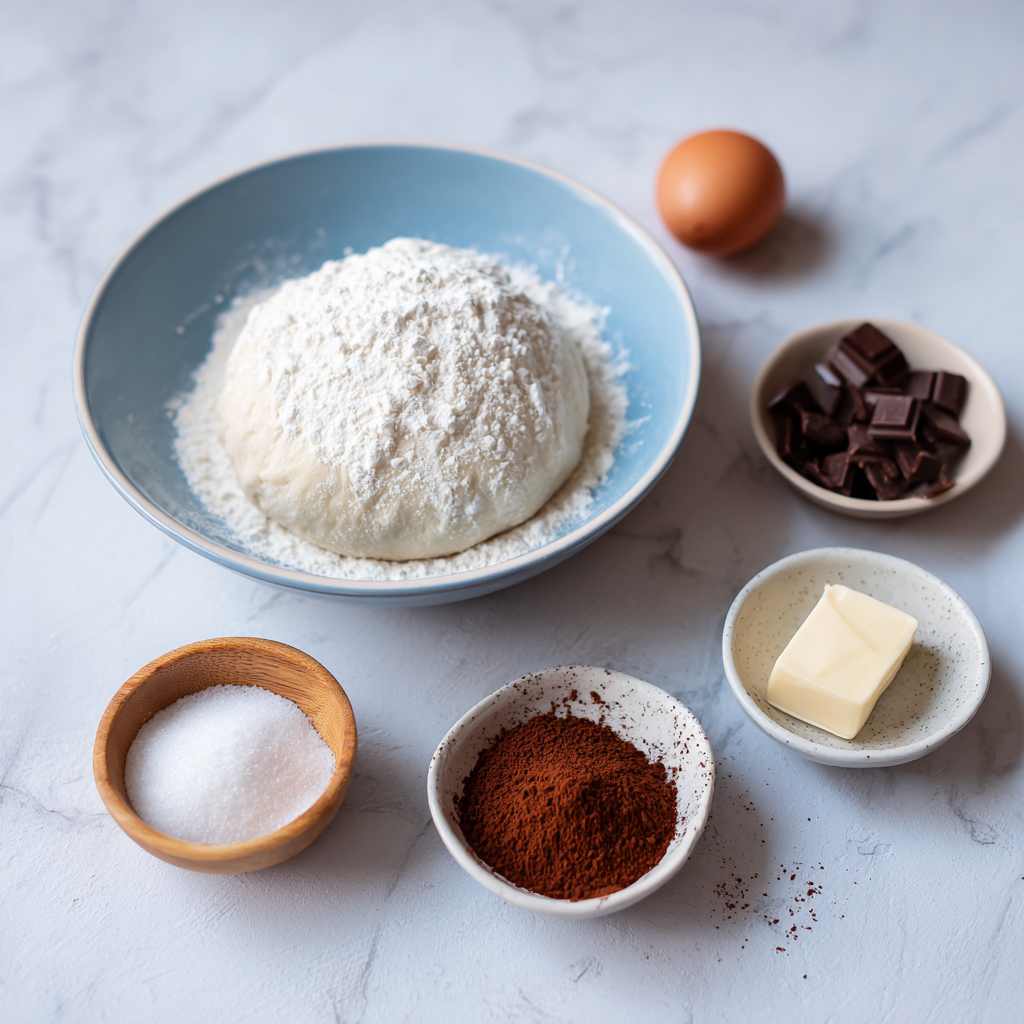
Ingredients Needed for Simple Chocolate Bun Recipe
Getting the ingredients right is crucial. Quality ingredients result in a better texture, taste, and aroma.
Basic Ingredients
| Ingredient | Quantity | Purpose |
|---|---|---|
| All-purpose flour | 3 cups (360g) | Provides structure and soft texture |
| Sugar | ½ cup (100g) | Sweetness and helps activate yeast |
| Salt | ½ tsp | Enhances overall flavor |
| Active dry yeast | 2 ½ tsp | Leavening agent, makes buns rise |
| Butter | 4 tbsp (60g) | Adds richness, tenderness, and flavor |
| Milk | ¾ cup (180ml) | Hydrates dough, ensures soft texture |
| Egg | 1 large | Adds moisture, richness, and structure |
Pro Tip: Always measure ingredients accurately for consistent results. Use a kitchen scale for flour if possible.
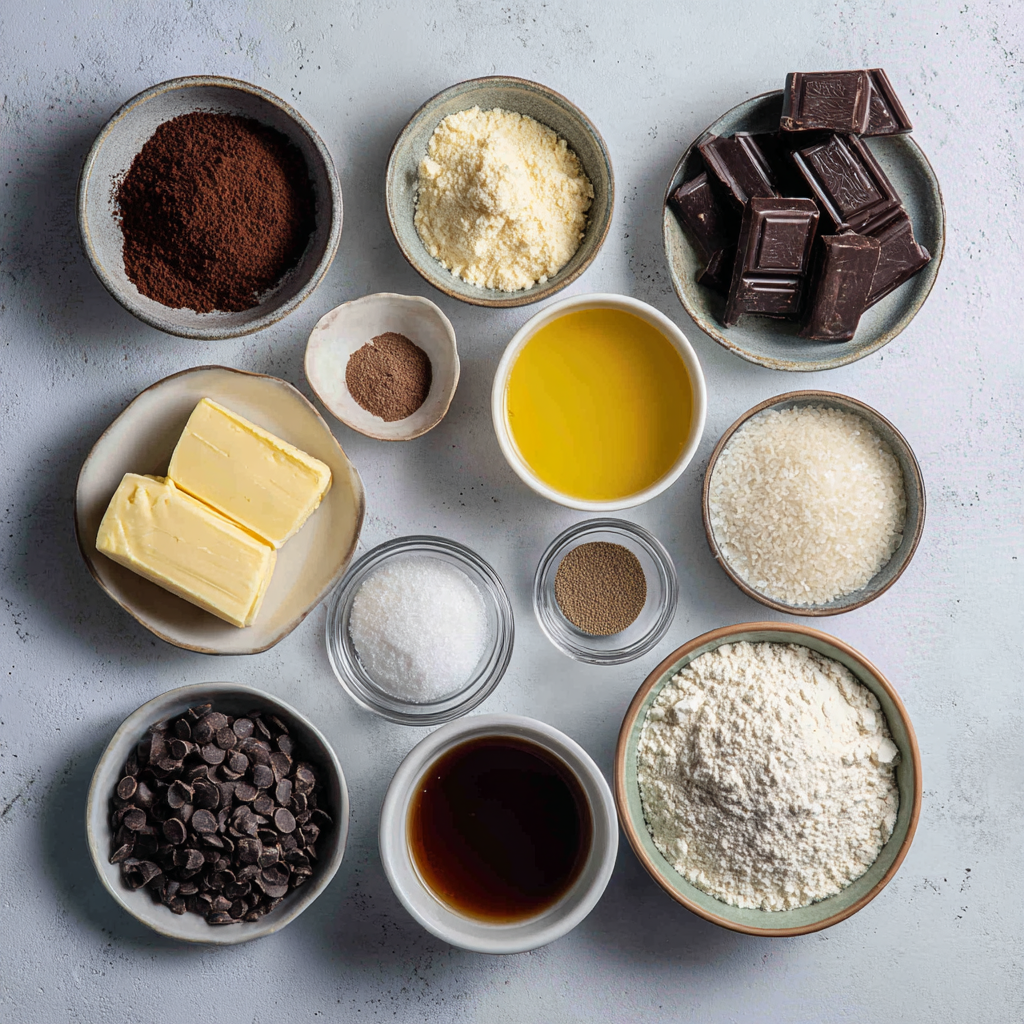
Chocolate-Specific Ingredients
| Ingredient | Quantity | Notes |
|---|---|---|
| Cocoa powder | 3 tbsp | Unsweetened, enhances chocolate flavor |
| Chocolate chips | ½ cup (90g) | Optional, adds soft chocolate pockets |
| Chocolate filling | ¼ cup (optional) | Nutella, ganache, or homemade chocolate paste |
High-quality chocolate will make a significant difference. Choose chocolate with at least 50% cocoa for a deep flavor.
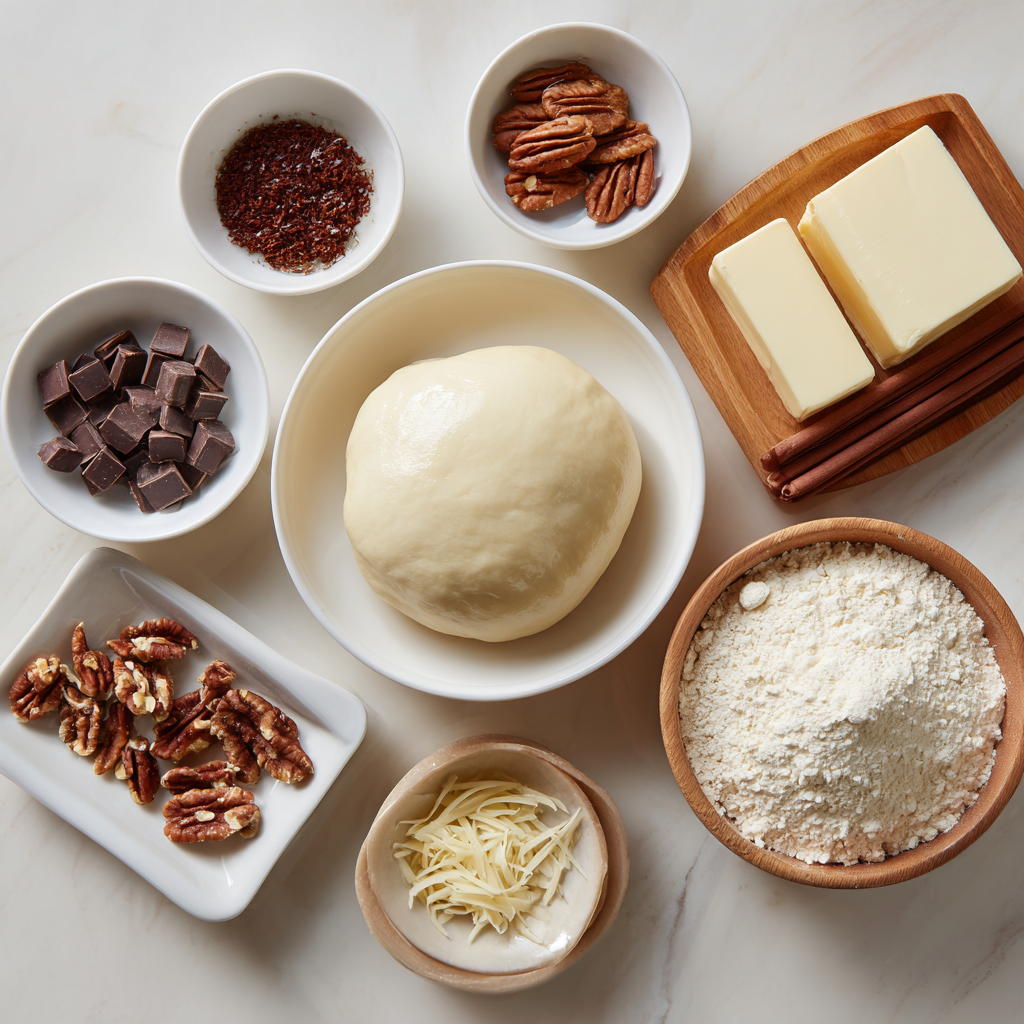
Optional Additions
- Chopped nuts like almonds or walnuts for extra crunch
- Sprinkles or chocolate shavings for decoration
- Milk or sugar glaze for shiny, bakery-style buns
- Vanilla extract or cinnamon for subtle flavor variations
Fun Fact: Adding a small pinch of salt to chocolate enhances the sweetness and balances the flavor.
Equipment Required
Kitchen Essentials
- Large mixing bowl for dough
- Measuring cups and spoons
- Whisk or spoon for mixing ingredients
- Baking tray lined with parchment paper
- Small saucepan (for glaze, optional)
Optional Tools
- Stand mixer or hand mixer (for easier kneading)
- Silicone spatula for folding dough
- Pastry brush for glazing
- Cooling rack for perfect buns
Using the right equipment makes baking smoother, but even without a mixer, this Simple Chocolate Bun Recipe is easy to follow.
Step-by-Step Simple Chocolate Bun Recipe
Follow these steps carefully to achieve soft, fluffy, and chocolatey buns.
Step 1 – Preparing the Dough
- Combine flour, sugar, cocoa powder, salt, and yeast in a large mixing bowl.
- Warm the milk slightly (lukewarm) and add melted butter and egg.
- Mix wet ingredients into dry ingredients gradually until a soft dough forms.
- Knead the dough gently for 5–10 minutes until smooth and elastic.
Tip: Dough should feel soft but not sticky. Dust lightly with flour if necessary.
Step 2 – Kneading the Dough
Kneading develops gluten, which gives buns structure and fluffiness.
- Hand knead for 8–10 minutes or use a stand mixer for 5–6 minutes.
- Dough is ready when smooth, elastic, and slightly springy to the touch.
- If kneading by hand, lightly oil your hands to prevent sticking.
Fact: Proper kneading helps trap air in the dough, resulting in buns that are airy and soft inside.
Step 3 – First Proofing
- Place the dough in a greased bowl and cover with a damp cloth or plastic wrap.
- Let it rise in a warm place for 1–2 hours, until doubled in size.
- Avoid drafts; ideal temperature is around 25–28°C (77–82°F).
Pro Tip: Gently pressing the dough with a fingertip should leave an indentation that slowly fills back.
Step 4 – Shaping the Chocolate Buns
- Punch down the dough to release excess air.
- Divide dough into equal portions (50–70g for standard buns).
- Roll each portion into a ball, flatten slightly, and place chocolate filling or chips in the center.
- Fold edges over and pinch to seal.
- Place buns on a lined baking tray, leaving space for expansion.
Tip: Uniform sizes ensure even baking.
Step 5 – Second Proofing
- Cover the shaped buns and let rise for 30–45 minutes.
- Buns should double in size and feel puffy to the touch.
- Second proofing ensures soft texture and a golden crust.
Step 6 – Baking the Buns
- Preheat oven to 180°C (356°F).
- Bake for 15–20 minutes until golden brown.
- Rotate the tray halfway through for even baking.
Tip: Overbaking will dry out the buns. They should feel slightly soft when pressed lightly.
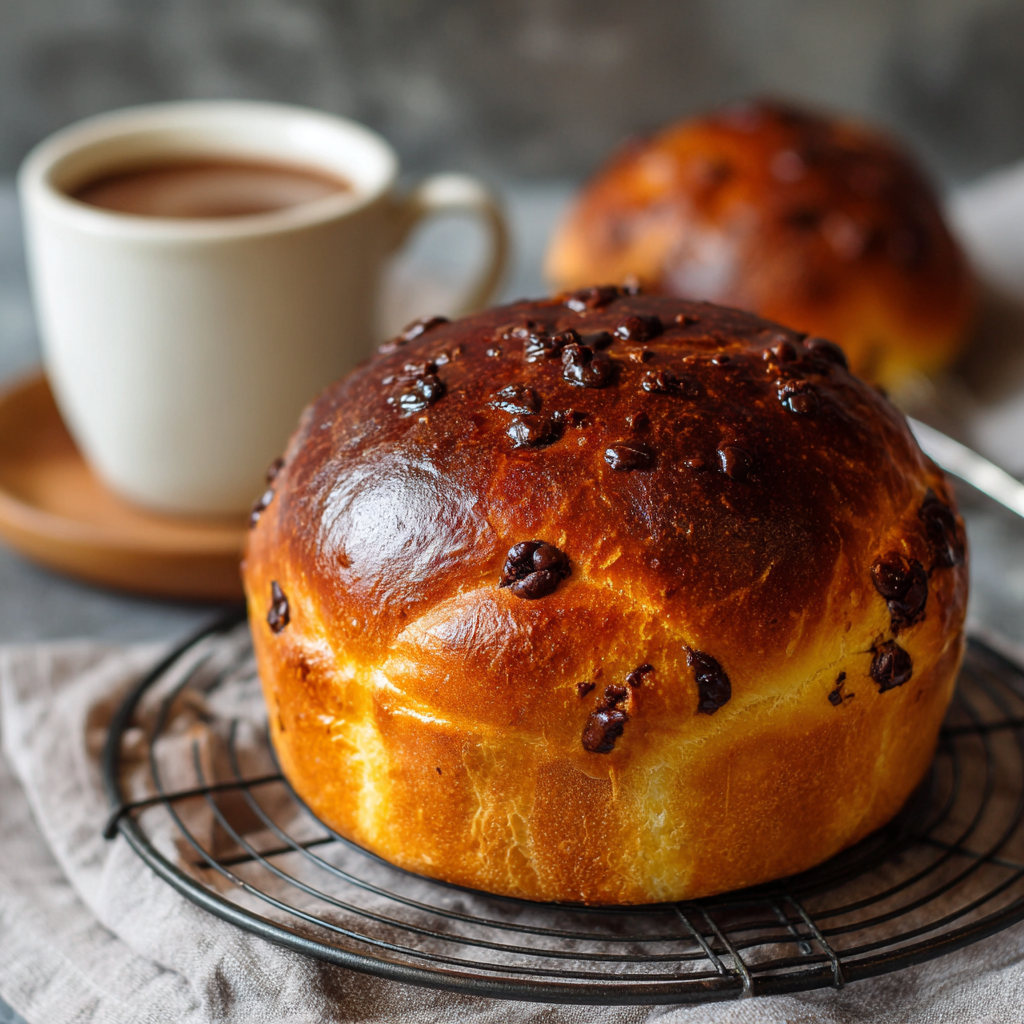
Step 7 – Cooling and Serving
- Remove buns from oven and cool on a wire rack for 10–15 minutes.
- Optional: Brush with milk glaze for a shiny finish.
- Serve warm with coffee, milk, or tea for a perfect snack or breakfast.
Tips and Tricks for Perfect Chocolate Buns
- Soft and Fluffy Tips: Use warm milk and butter correctly. Don’t add too much flour during kneading.
- Chocolate Filling Tips: Freeze chocolate slightly to prevent melting too quickly during shaping.
- Baking Troubleshooting: If buns sink, check yeast freshness and proofing times.
- Extra Tip: For shiny buns, brush lightly with egg wash before baking.
Interesting Fact: Proper proofing traps CO₂ in dough, which makes buns airy and soft.
Variations of the Simple Chocolate Bun Recipe
- Mini Chocolate Buns: Reduce portion size and baking time. Great for parties.
- Vegan or Eggless: Use mashed banana or flaxseed instead of eggs and plant-based milk.
- Whole Wheat Chocolate Buns: Substitute half of all-purpose flour with whole wheat flour.
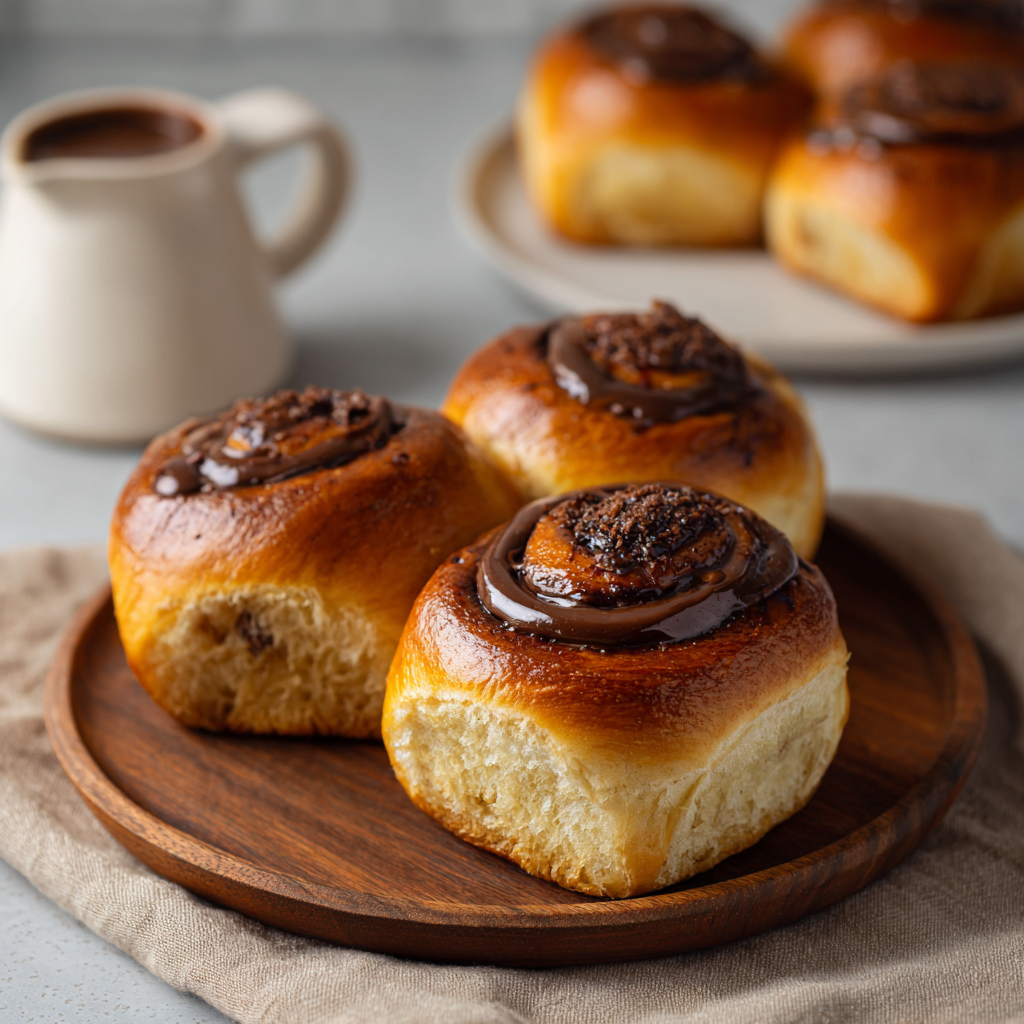
- Stuffed Buns: Add Nutella, caramel, or dried fruit filling for variety.
Tip: Experiment with toppings like nuts, sprinkles, or powdered sugar for a creative presentation.
Frequently Asked Questions (FAQ)
- Can I freeze chocolate buns? Yes, store in an airtight container for up to 2 months.
- How long do homemade buns last? Best within 2–3 days at room temperature.
- Can I make this recipe without a stand mixer? Yes, hand kneading works perfectly.
- Can I use dark chocolate instead of milk chocolate? Yes, reduce sugar slightly if desired.
- Can I make the dough ahead of time? Yes, refrigerate for slow proofing up to 12 hours.
Serving Ideas and Pairings
- Serve with coffee, tea, or hot chocolate.
- Perfect for breakfast, snack time, or dessert.
- Top with icing, cocoa, or sprinkles for celebrations.
- Pair with fruit jam or cream cheese for added flavor.
Conclusion – Why You Should Try This Simple Chocolate Bun Recipe Today
Simultaneously delicious and relatively inexpensive, this is the successful and Simple Chocolate Bun Recipe for all new bakers who are unwilling to spend too much. It’s not too fiddly, beginner-friendly, and has various flavors. Using the recipe below, you can have fresh and warm chocolate buns any day of the week. Pray: Just try this simple chocolate bun recipe today. Share it with family and friends, and enjoy the fulfilling taste of homemade buns.
Simple Chocolate Bun Recipe
Equipment
- Large mixing bowl
- Measuring cups and spoons
- Whisk or spoon
- Baking tray (lined with parchment paper)
- Small saucepan (for glaze, optional)
- Stand mixer or hand mixer (optional)
- Silicone spatula (optional)
- Cooling rack
Ingredients
- Basic Ingredients:
- 3 cups all-purpose flour
- ½ cup sugar
- ½ tsp salt
- 2 ½ tsp active dry yeast
- 4 tbsp melted butter
- ¾ cup warm milk
- 1 large egg
- Chocolate Ingredients:
- 3 tbsp cocoa powder
- ½ cup chocolate chips optional
- ¼ cup chocolate filling Nutella, ganache, optional
- Optional Additions:
- Chopped nuts
- Sprinkles or chocolate shavings
- Milk or sugar glaze
- Vanilla extract or cinnamon
Instructions
- Step 1 – Prepare the Dough: Mix flour, sugar, cocoa powder, salt, and yeast in a bowl. Add warm milk, melted butter, and egg, then mix until a soft dough forms.
- Step 2 – Knead the Dough: Knead the dough by hand for 8–10 minutes or with a mixer for 5–6 minutes until smooth and elastic.
- Step 3 – First Proofing: Place the dough in a greased bowl, cover with a cloth, and let rise in a warm place for 1–2 hours until doubled in size.
- Step 4 – Shape the Buns: Punch down the dough and divide into portions. Flatten each piece, place chocolate filling or chips in the center, fold edges over, and place on a baking tray.
- Step 5 – Second Proofing: Cover shaped buns and let rise for 30–45 minutes until puffy and slightly doubled.
- Step 6 – Bake the Buns: Preheat oven to 180°C (356°F). Bake buns for 15–20 minutes until golden brown. Rotate tray halfway through.
- Step 7 – Cool and Serve: Cool buns on a wire rack for 10–15 minutes. Optionally brush with milk glaze. Serve warm.
Notes
- Use warm milk, not hot, to activate yeast.
- For softer buns, do not over-flour while kneading.
- High-quality chocolate improves taste significantly.
- Store buns in an airtight container for 2–3 days or freeze for 2 months.
- Try variations: mini buns, vegan buns, or whole wheat buns.
Share Your Twist!
We’d love to see your version of this simple chocolate bun recipe! Did you add extra chocolate chips, nuts, or a special filling? Or maybe you tried a vegan or whole wheat variation?
Share your creative twist, tips, or photos in the comments below or tag us on social media. Your ideas might inspire other bakers to try something new; and we can all enjoy some chocolatey fun together! 🍫✨
