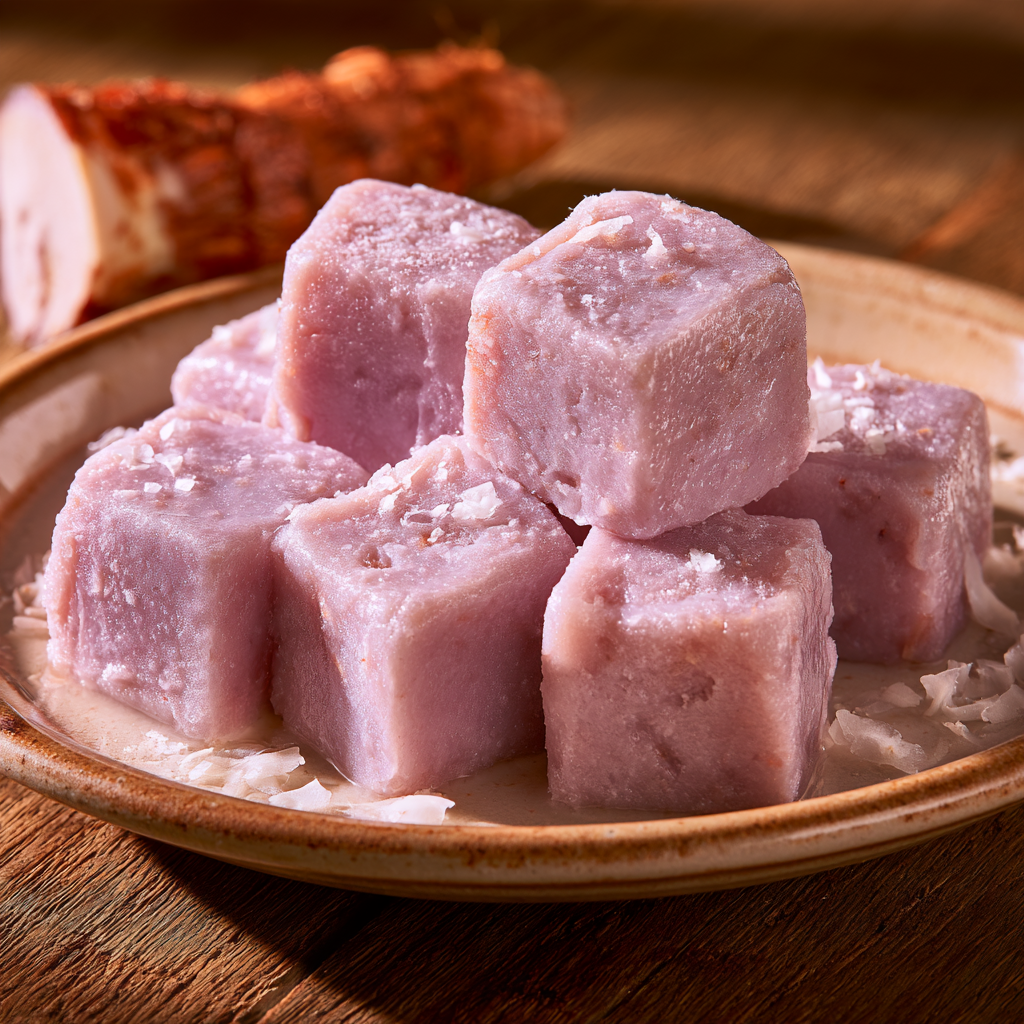
Poi mochi is a beloved Hawaiian-inspired treat that marries the chewy, stretchy qualities of Japanese mochi with the rich, earthy sweetness of Hawaiian poi. This poi mochi recipe makes a chewy and slightly crispy treat with a very distinct taro flavor that is unlike most rice-based desserts.
Homemade poi mochi is a great dessert for those who like chewy treats with a cultural history, made with simple ingredients like mochiko flour, poi, sugar, and coconut milk. If you’re a newcomer to Hawaiian sweets or a fan of taro-based treats, this recipe is a simple way to bring a taste of the islands into your kitchen.
In this guide, you will learn how to make a Hawaiian poi mochi recipe, the role of each ingredient, how to avoid common mistakes, and how to customize this delicious dessert.
What Is Poi Mochi?
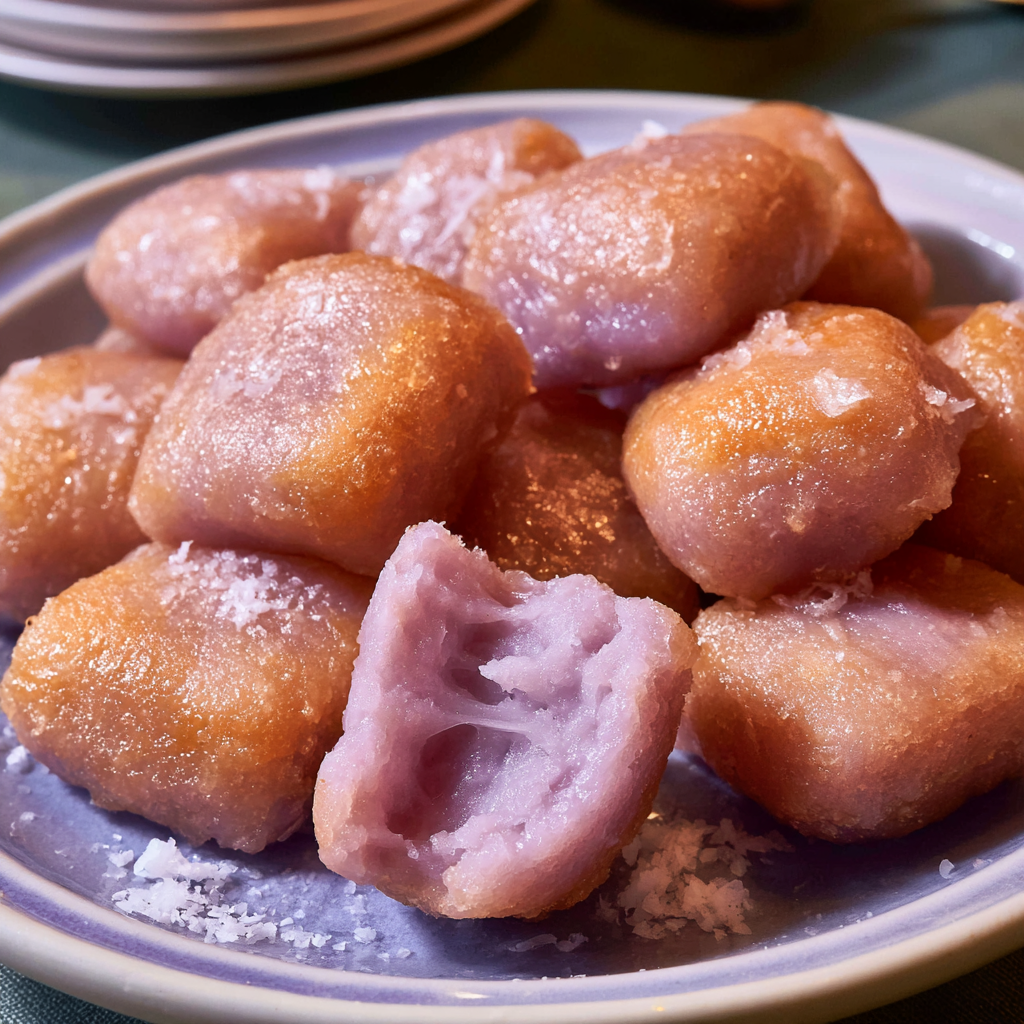
Poi mochi is a Hawaiian treat that combines two culinary traditions: Japanese mochi-making techniques and Hawaiian poi, a traditional food made from fermented taro root.
Mochi’s main ingredient is mochiko flour, also known as sweet rice flour, which lends mochi its chewy signature. When paired with poi, the result is a soft dessert with a mild taro flavor.
Poi mochi is usually flavored throughout the dough, unlike traditional Japanese mochi, which is often filled with sweet fillings. It can be baked, fried, or cooked in different styles according to the recipe.
Often, a classic poi mochi recipe will have a natural taro taste with just a hint of sweetness.
Why You’ll Love This Poi Mochi Recipe
This homemade dessert is popular because it offers a texture and flavor combination that is hard to find in other sweets.
Here are a few reasons to try it:
- Unique flavor: Poi adds a gentle earthy taro taste.
- Chewy texture: Mochiko flour creates the classic mochi bite.
- Simple ingredients: Most ingredients are easy to find.
- Culturally inspired: It represents the connection between Hawaiian and Japanese food traditions.
- Customizable: You can adjust sweetness, add coconut flavors, or experiment with toppings.
This poi mochi dessert recipe is perfect for gatherings, afternoon snacks, or anyone who enjoys chewy treats.
Ingredients for Homemade Poi Mochi
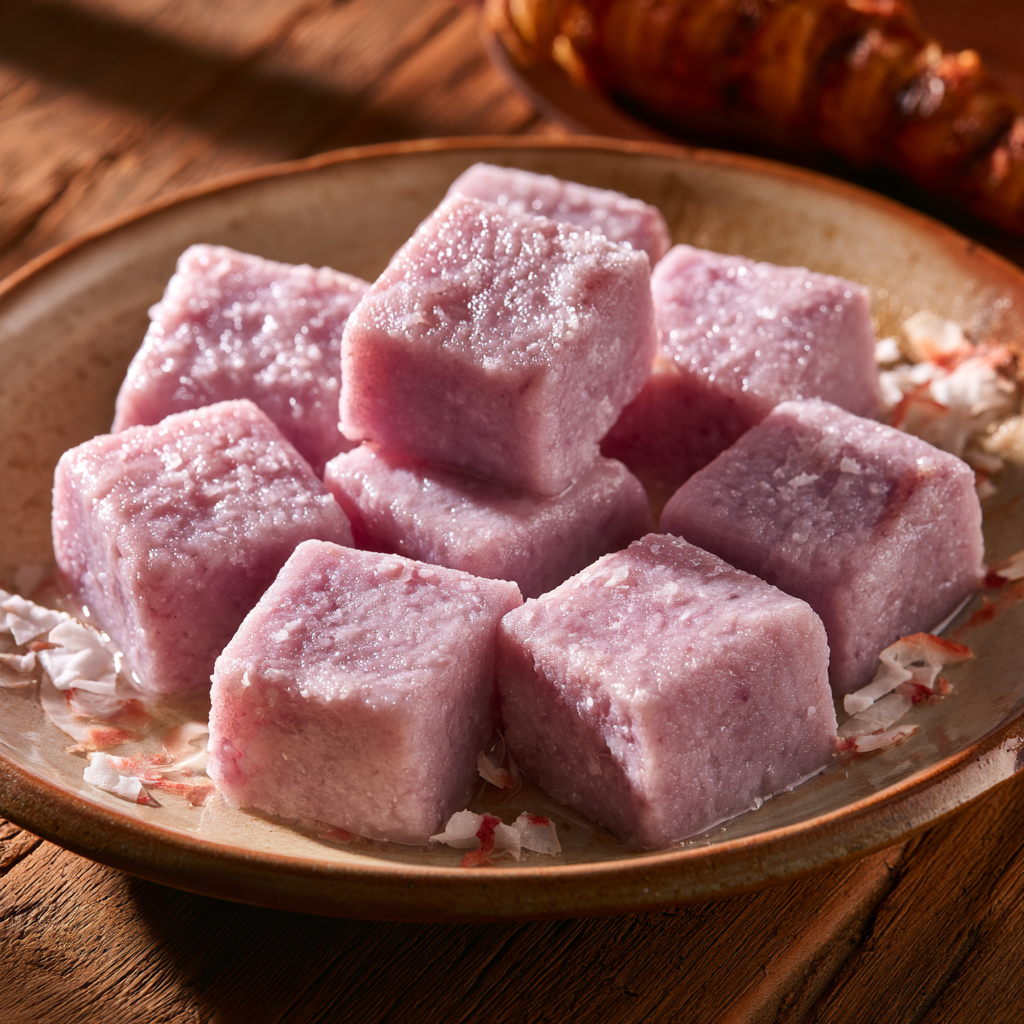
Ingredients
| Ingredient | Amount | Purpose |
|---|---|---|
| Mochiko flour (sweet rice flour) | 2 cups | Creates the chewy mochi texture |
| Poi | 1 cup | Adds taro flavor and moisture |
| Sugar | ¾ cup | Provides sweetness |
| Coconut milk | 1 cup | Adds richness and tropical flavor |
| Eggs | 2 large | Helps bind ingredients |
| Baking powder | 1 teaspoon | Adds a lighter texture |
| Vanilla extract | 1 teaspoon | Enhances sweetness |
| Salt | ¼ teaspoon | Balances flavors |
| Butter or oil | For greasing | Prevents sticking |
Ingredient Explanations and Tips
Mochiko Flour
Mochiko flour is different from regular rice flour. It is made from glutinous rice and gives desserts their stretchy, chewy texture.
Do not replace it with standard rice flour because the final texture will be much firmer and less chewy.
Poi
Poi is made from cooked and mashed taro root. Fresh poi usually has a slightly fermented flavor, while newer poi tends to taste milder.
The amount of poi can affect the final texture. More poi creates a softer and more moist dessert.
Coconut Milk
Coconut milk adds richness and pairs naturally with the taro flavor. It also helps keep the mochi tender after baking.
Ingredient Substitutions and Tips
Some adjustments can work if you cannot find every ingredient.
| Ingredient | Possible Substitute | Result |
|---|---|---|
| Poi | Taro puree | Similar taro flavor but less traditional |
| Coconut milk | Whole milk | Less tropical flavor |
| Butter | Neutral cooking oil | Slightly lighter texture |
| Vanilla extract | Coconut extract | Stronger coconut aroma |
For the most authentic Hawaiian poi mochi recipe, using real poi is recommended because it provides the traditional taro flavor.
How to Make Poi Mochi Step by Step
Step 1: Prepare the Baking Pan
Preheat your oven to 350°F (175°C).
Grease a baking dish with butter or oil to prevent sticking.
A square baking pan works well because it allows the mochi to bake evenly and makes cutting easier.
Step 2: Mix the Dry Ingredients
In a large bowl, combine:
- Mochiko flour
- Sugar
- Baking powder
- Salt
Mix well so the baking powder and salt are evenly distributed.
Step 3: Combine the Wet Ingredients
In another bowl, whisk together:
- Poi
- Coconut milk
- Eggs
- Vanilla extract
Mix until smooth.
Small lumps from the poi are normal and will blend during baking.
Step 4: Combine Wet and Dry Mixtures
Slowly add the wet mixture into the dry ingredients.
Stir until everything is combined.
The batter should be thick but pourable, similar to a dense cake batter.
Avoid overmixing because it can make the texture heavier.
Step 5: Bake the Poi Mochi
Pour the batter into the prepared pan.
Bake for approximately 50–60 minutes.
The top should become lightly golden, and the center should feel firm when gently pressed.
Because mochi stays naturally chewy, it will not look exactly like a traditional cake.
Step 6: Cool and Slice
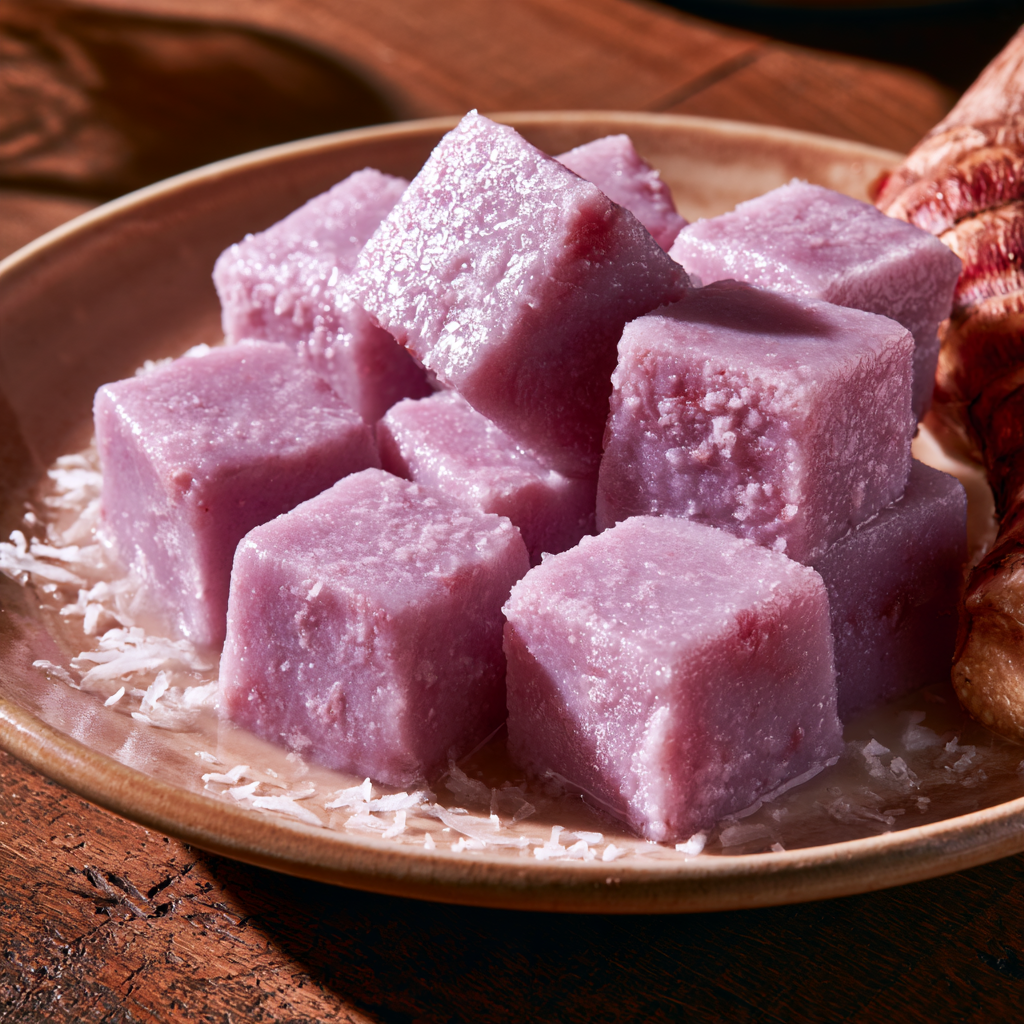
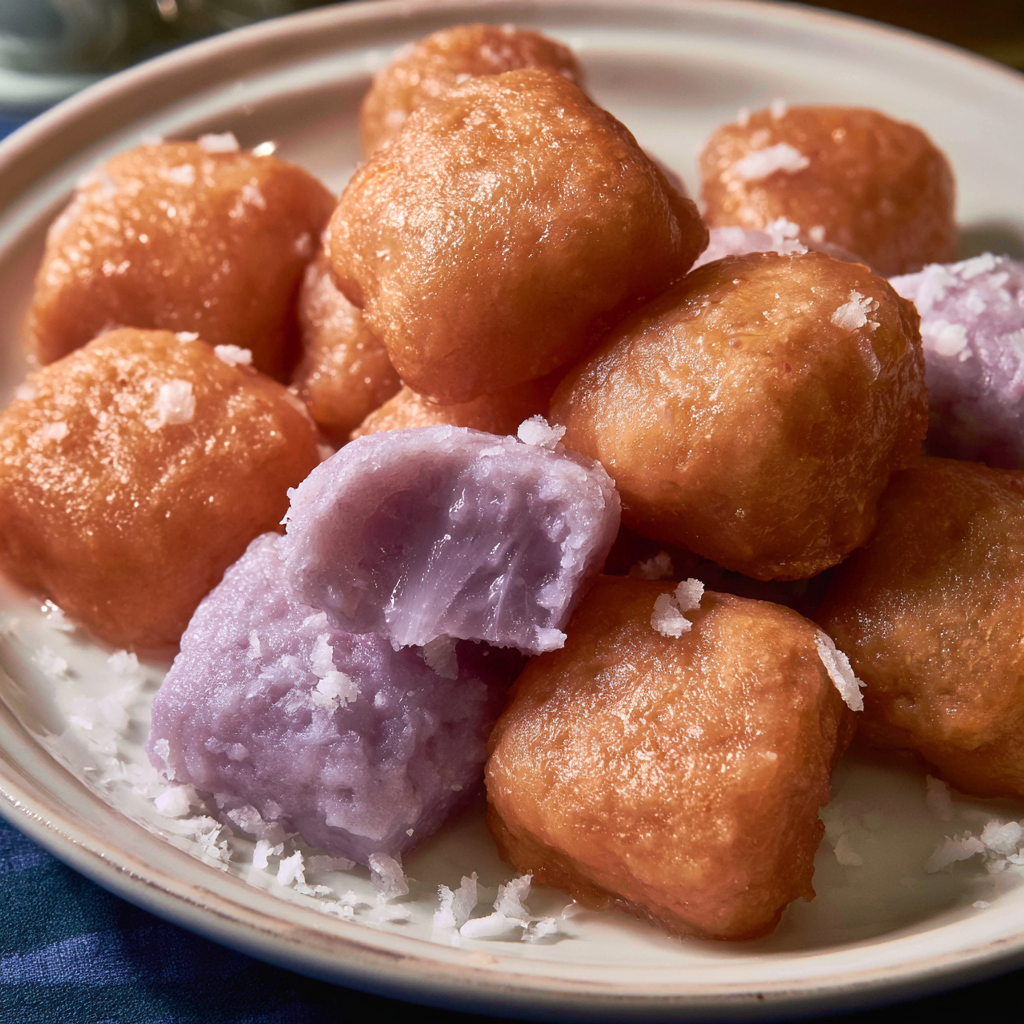
Allow the poi mochi to cool completely before cutting.
Use a lightly greased knife to create clean slices.
The texture becomes chewier as it cools.
How to Know When Poi Mochi Is Done
Look for these signs:
- The edges are slightly golden.
- The center is set but still soft.
- A toothpick comes out mostly clean.
- The surface has a gentle bounce when pressed.
Avoid overbaking because it can make the mochi dry instead of soft and chewy.
Common Mistakes and Troubleshooting
Why Is My Poi Mochi Too Dry?
Possible causes:
- Too much flour was added.
- It was baked too long.
- The oven temperature was too high.
Solution: Measure mochiko flour carefully and remove the mochi once it is fully set.
Why Is My Poi Mochi Too Soft?
A very soft texture can happen when:
- Too much liquid is added.
- The baking time is too short.
Allow it to cool completely before judging the texture.
Why Is My Poi Mochi Not Chewy?
The most common reason is using the wrong flour.
Regular rice flour does not create the same stretchy texture as mochiko flour.
Poi Mochi Variations
Coconut Poi Mochi
Add shredded coconut to the batter for extra texture and tropical flavor.
Chocolate Poi Mochi
Mix in small chocolate chips before baking for a sweeter dessert version.
Fried Poi Mochi
Instead of baking, some versions are shaped and fried for a crisp outside with a soft center.
Vegan Poi Mochi
Replace eggs with a suitable egg alternative and use plant-based oil instead of butter.
The texture may vary slightly depending on the substitute.
How to Serve Poi Mochi
Poi mochi tastes great:
- At room temperature as a snack
- With tea or coffee
- As part of a Hawaiian-inspired dessert table
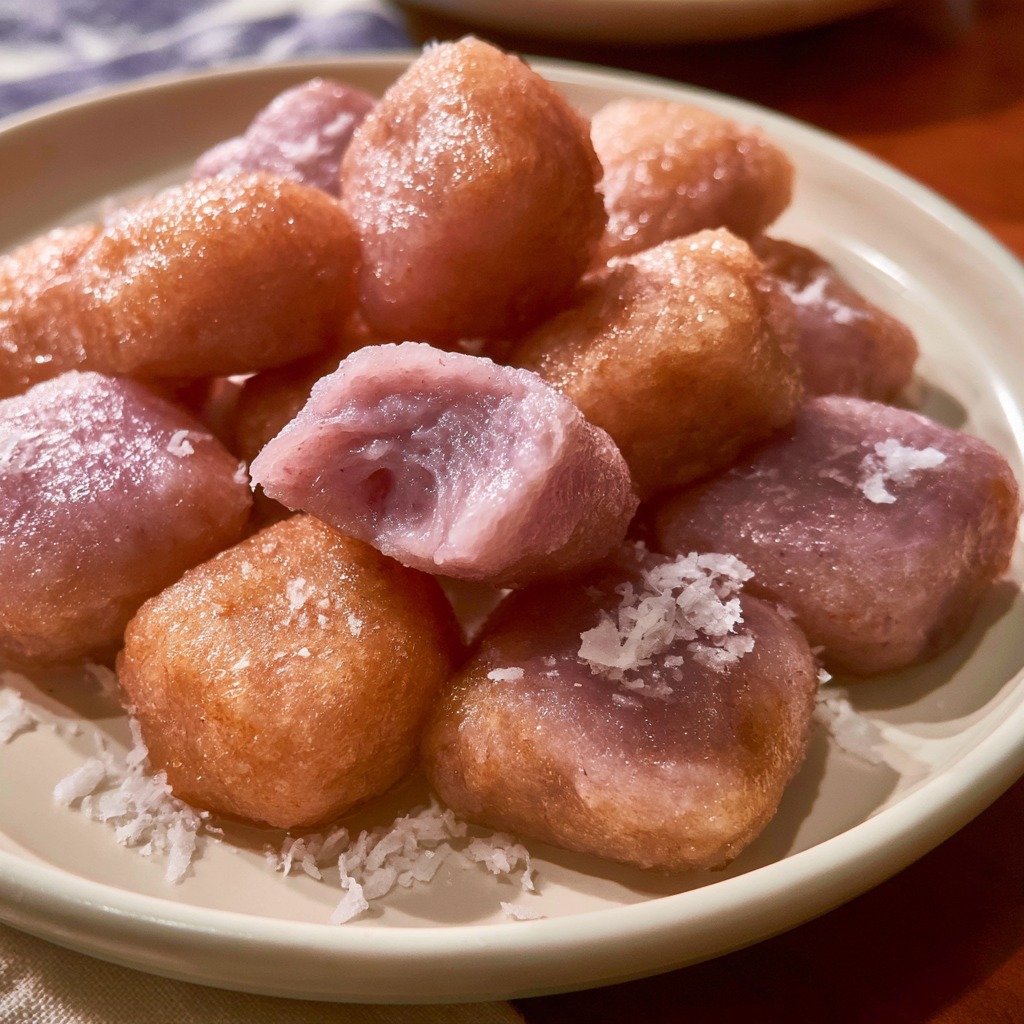
- Lightly dusted with toasted coconut
For extra flavor, you can serve it with fresh fruit or a small drizzle of coconut sauce.
Storage and Reheating Tips
Room Temperature
Store poi mochi in an airtight container to help maintain softness.
Refrigerator
Refrigeration can make mochi firmer. If chilled, allow it to come back closer to room temperature before serving.
Freezing
Poi mochi can generally be frozen. Wrap individual pieces before storing to reduce freezer dryness.
Thaw at room temperature before eating.
Final Thoughts
A good poi mochi recipe is about balance: the earthiness of the taro, the sweetness of the batter, and the signature chewiness of mochiko flour.
This dessert with a Hawaiian twist is easy enough for beginners, but still gives a unique taste from the traditions of island food. Once you learn the basic method, you can try coconut, chocolate, or other flavors to make your own version of homemade poi mochi.
Use good quality mochiko flour, measure ingredients carefully, and allow the mochi to cool before slicing for best texture. That final step of cooling is what gives poi mochi its soft, chewy bite.
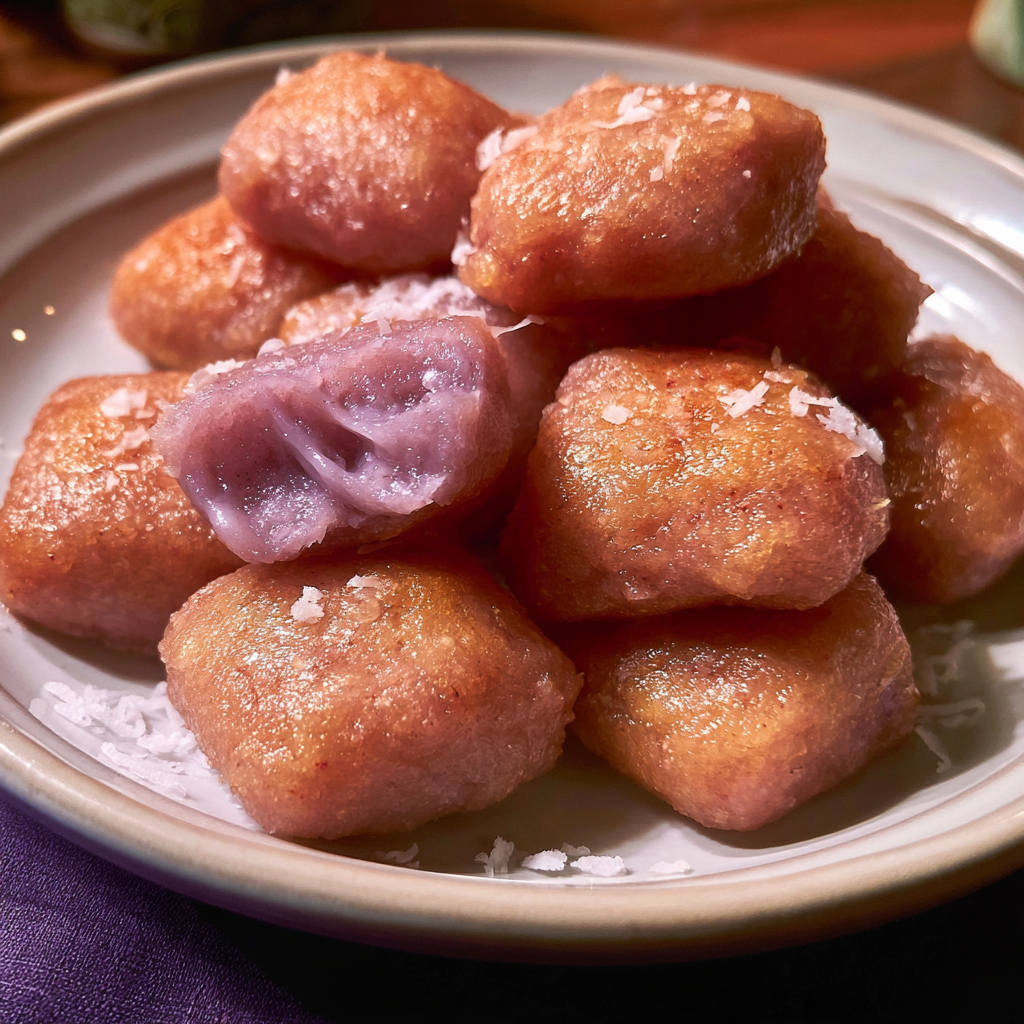
Poi Mochi Recipe (Hawaiian Taro Mochi Dessert)
Ingredients
Equipment
Method
- Preheat the oven to 350°F (175°C) and grease an 8×8 inch baking pan.
- In a large bowl, combine mochiko flour, sugar, baking powder, and salt. Mix well.
- In another bowl, whisk together poi, coconut milk, eggs, and vanilla extract until smooth.
- Slowly add the wet ingredients into the dry mixture. Stir until a thick, smooth batter forms.
- Pour the batter into the prepared baking pan and spread evenly.
- Bake for 50–60 minutes, or until the top is lightly golden and the center is set.
- Allow the poi mochi to cool completely before slicing. Cooling helps develop the soft, chewy texture.
- Cut into small squares and serve at room temperature.
Notes
Frequently Asked Questions
What does poi mochi taste like?
Poi mochi has a mild taro flavor with a slightly earthy sweetness. It has a soft, chewy texture from mochiko flour, making it different from traditional cake-like desserts.
Can I make poi mochi without poi?
Yes, you can use taro puree as an alternative, but the flavor will be slightly different. For an authentic Hawaiian poi mochi recipe, using real poi gives the best traditional taste.
Is poi mochi gluten-free?
Poi mochi made with mochiko flour is naturally gluten-free because mochiko is made from glutinous rice, not wheat. Always check product labels if you have strict dietary requirements.
Can I use regular rice flour instead of mochiko flour?
No, regular rice flour will not create the same soft and chewy texture. Mochiko flour is the key ingredient that gives poi mochi its signature stretchy consistency.
Why is my poi mochi too sticky?
A slightly sticky texture is normal because mochiko creates a chewy dessert. If it feels overly wet, it may need additional baking time or more accurate ingredient measurements.
How should I store homemade poi mochi?
Store homemade poi mochi in an airtight container to maintain softness. If refrigerated, allow it to come closer to room temperature before serving because chilling can make the texture firmer.
Can I freeze poi mochi?
Yes, poi mochi can be frozen. Wrap individual pieces properly before freezing and thaw them at room temperature before eating for the best texture.