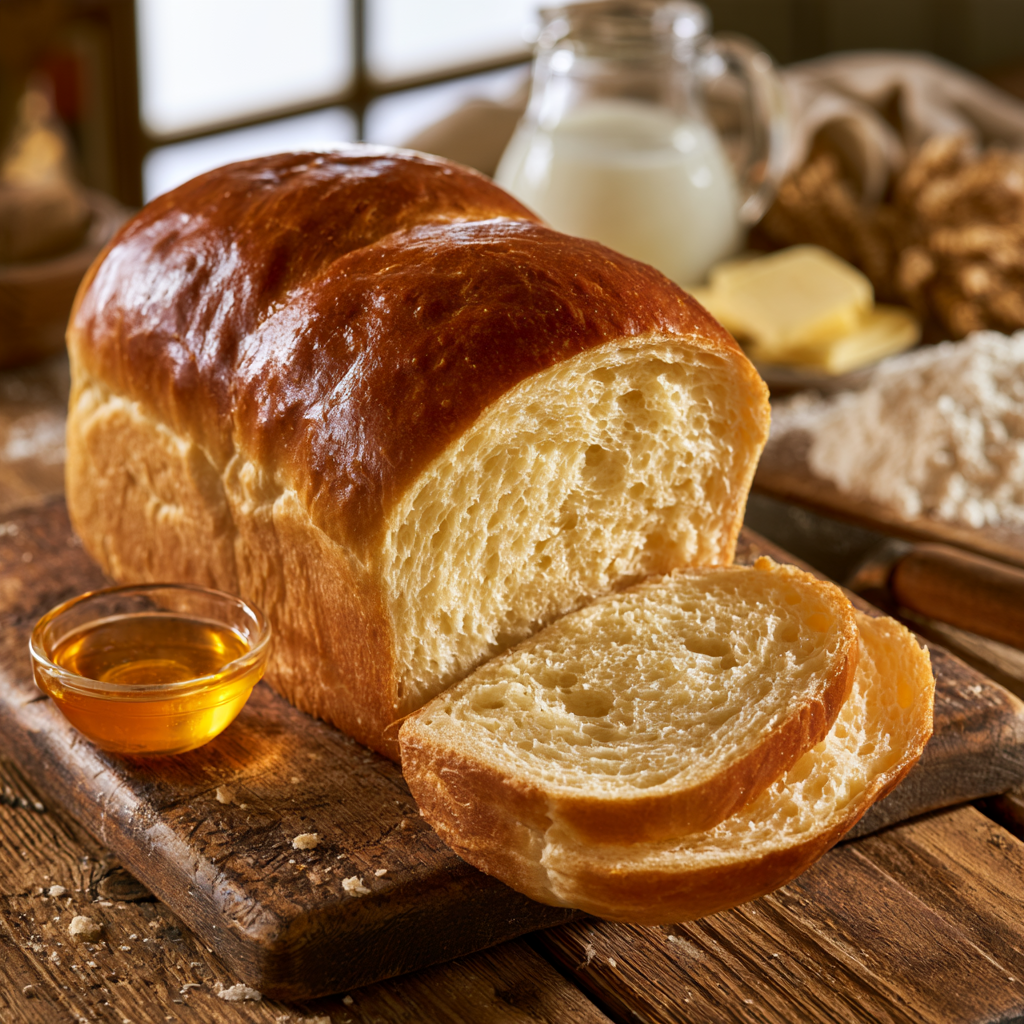
Milk and Honey Bread Recipe is a soft, mildly sweet sandwich loaf made from simple ingredients. The milk gives a tender crumb, and the honey, while sweet, doesn’t make it taste like a dessert. The result is a fluffy homemade loaf that is just as good for toast and breakfast as it is for sandwiches.
This recipe follows a basic yeast bread method: mix the dough, knead until elastic, let rise, shape into a loaf, let rise again, then bake until golden. The key is learning to judge the dough by feel and look, not just by the clock.
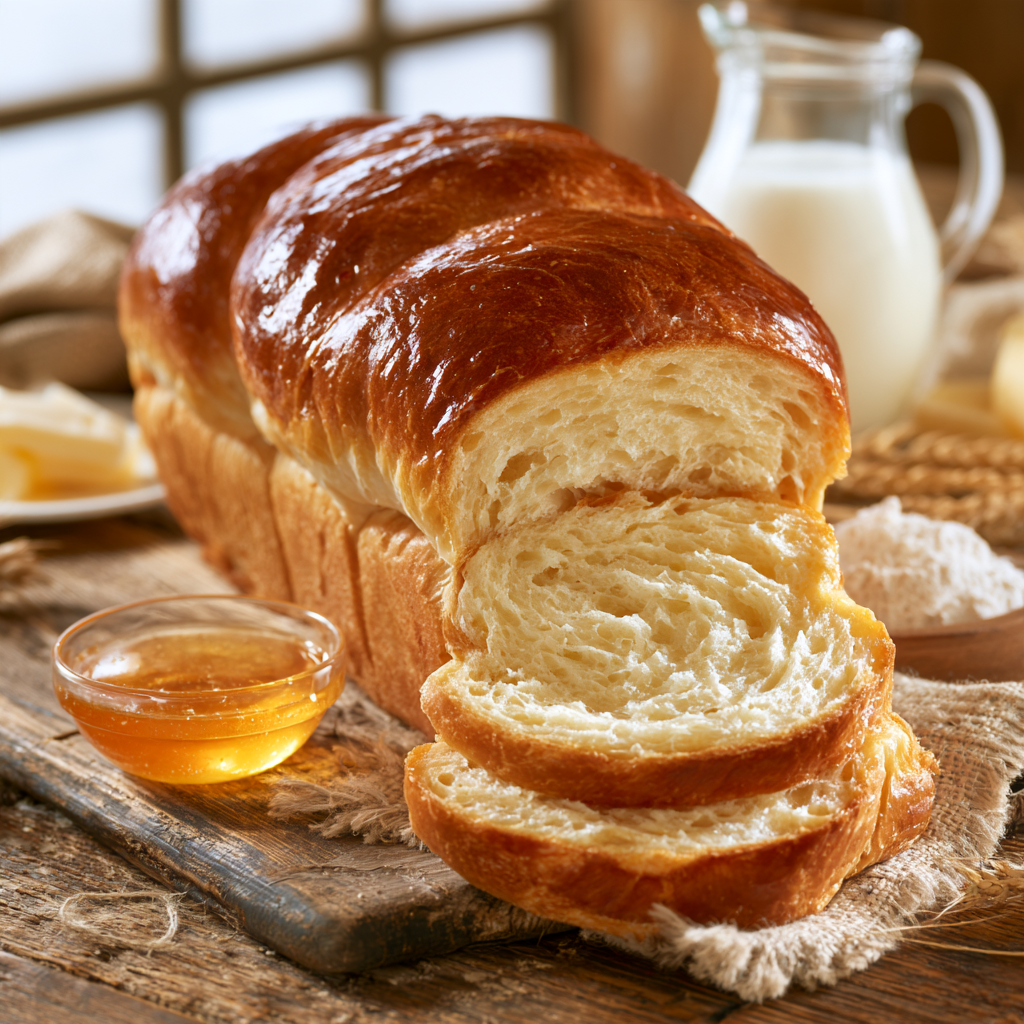
What Makes This Milk and Honey Bread So Good?
The combination of milk, honey, and butter makes this a softer, richer loaf than a basic flour-and-water bread. It has a mild sweetness and a tender texture that makes it especially useful as an everyday sandwich bread.
A few details make the biggest difference:
- Use enough liquid for a soft dough. The dough should hold together without becoming dry or crumbly.
- Knead until the gluten is developed. Properly kneaded dough should feel smooth, elastic, and springy.
- Let the dough rise according to its appearance. Temperature and yeast activity can change rising times.
- Don’t slice the bread while it is piping hot. Cooling allows the crumb to finish setting.
The recipe is based on the supplied reference, which uses all-purpose flour, milk, honey, butter, salt, and instant yeast and calls for two rises before baking.
Milk and Honey Bread Ingredients
For the dough
- 3 cups all-purpose flour
- 1 cup milk, plus a few extra tablespoons if needed
- 3 tablespoons honey
- 2 tablespoons softened butter
- 1½ teaspoons salt
- 2¼ teaspoons instant yeast
- Nonstick cooking spray or a little oil for the pan and bowl
For the top
- A little milk for brushing the loaf before baking
- Melted butter, optional, for brushing the crust after baking
A note about the yeast
The supplied reference lists 2 teaspoons of instant yeast in one section but 2¼ teaspoons in its printable recipe. This version uses 2¼ teaspoons to follow the printable recipe’s measurement.
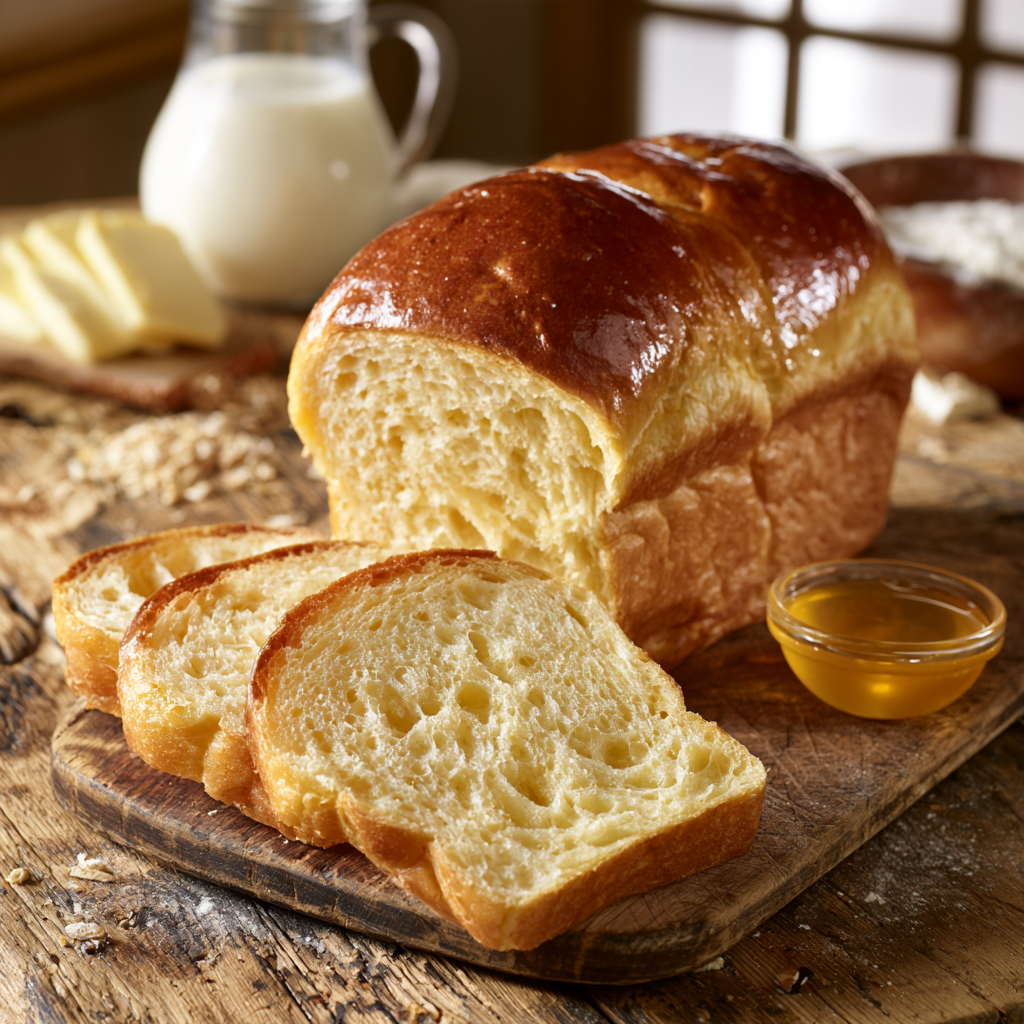
Equipment
You don’t need specialized bread-baking equipment.
You’ll need:
- A standard loaf pan, approximately 8½ × 4½ inches
- Stand mixer with dough hook, or a bread machine
- Mixing bowl if making the dough without a bread machine
- Pastry brush
- Wire cooling rack
A stand mixer makes kneading easier, but the important thing is achieving the correct dough consistency and gluten development.
How to Make Milk and Honey Bread
1. Mix the dough
Add the flour, milk, honey, softened butter, salt, and instant yeast to the bowl of a stand mixer fitted with the dough hook.
Mix until everything is combined and the dough starts to come together in a ball.
This is where you want to look out for consistency. Dough should be soft and come together. If it is crumbly and will not come together, add milk, one tablespoon at a time. If it is very sticky and sticks badly to the sides of the bowl, add a little flour.
Don’t just dump a huge pile of flour in. It’s easier to cope with small changes.
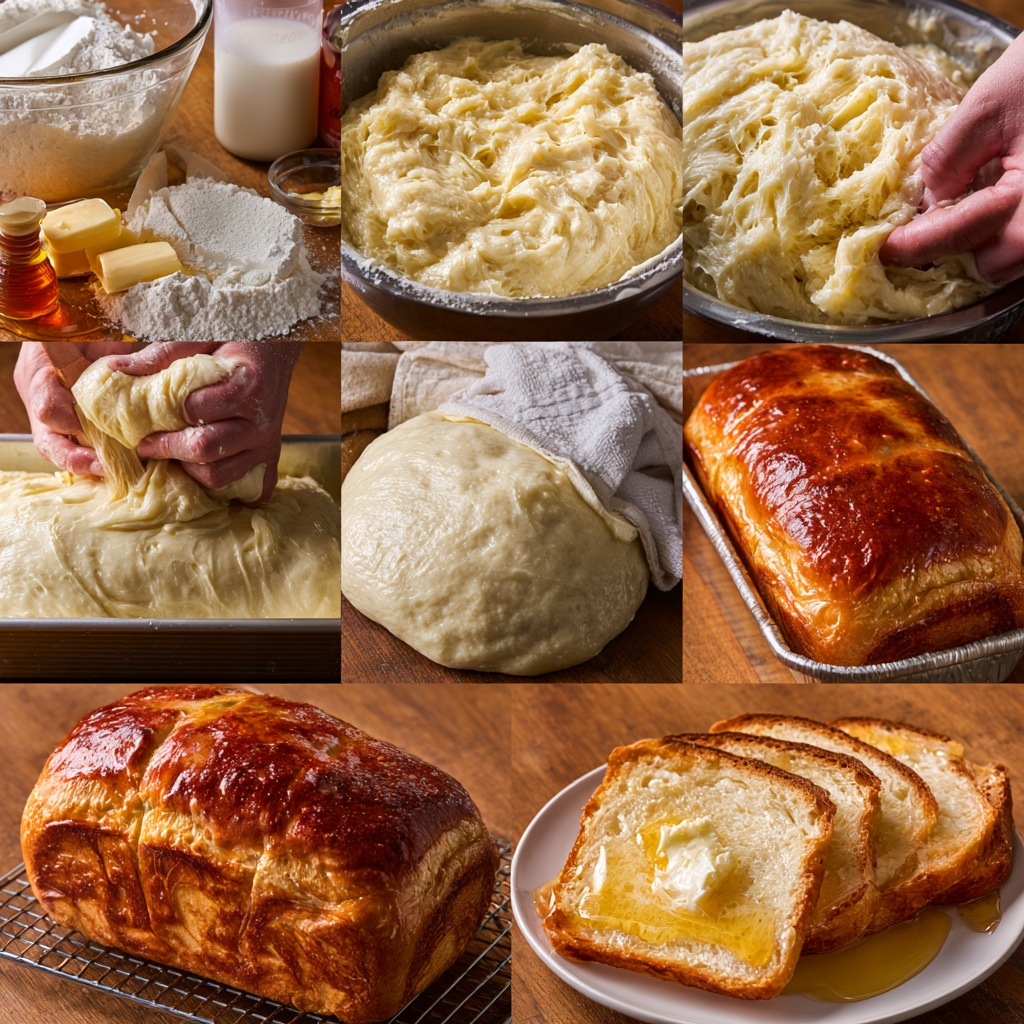
2. Knead until smooth and elastic
Knead until smooth, supple, and elastic. In a stand mixer, this may take about 10 minutes with short breaks as needed.
The windowpane test is a good way to test the dough. Pull apart a small piece with your fingers, gently. If it rips right away, keep kneading. If it is stretchy enough to let light through without breaking straight away, the gluten is developed enough.
This step is important because when the dough is under-kneaded, the loaf will be heavier and less airy.
3. Let the dough rise
Shape the kneaded dough into a ball and place it in a lightly oiled bowl.
Cover it with a clean damp towel or lightly greased plastic wrap and leave it somewhere warm.
Let the dough rise until it has become noticeably puffy and approximately doubled in size. The reference recipe gives roughly 45–60 minutes for the first rise, but the actual time will depend on the temperature of your kitchen and the activity of your yeast.
Don’t worry if your dough takes longer. Volume is a better indicator than the clock.
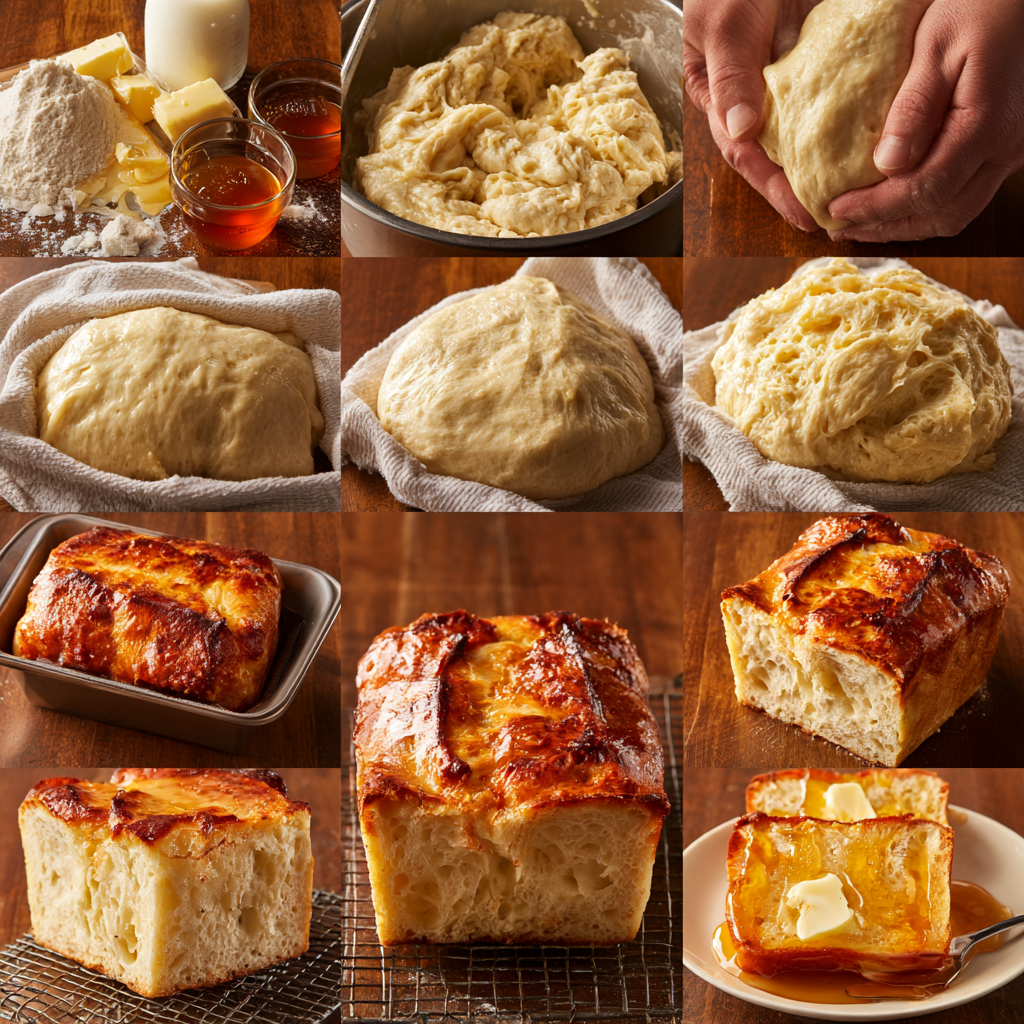
4. Shape the loaf
Turn the risen dough onto a lightly floured work surface.
Gently flatten and stretch it into a rectangle roughly as wide as the length of your loaf pan.
Fold the upper corners inward and roll the dough into a firm cylinder. Tuck the ends underneath and pinch the seam closed.
The goal is a compact loaf with the seam secured underneath. It doesn’t have to look perfect—the second rise and baking will smooth out many small imperfections.
5. Give it a second rise
Lightly grease the loaf pan and place the shaped dough inside, seam side down.
Cover loosely with greased plastic wrap and return the pan to a warm place.
Let the loaf rise until it is very puffy and the dough reaches about an inch above the rim of the pan. This second rise generally takes around 45–60 minutes, although it can vary.
Toward the end of the rising time, preheat the oven to 350°F (175°C).
6. Brush and bake
Remove the covering and gently brush the top of the risen loaf with milk.
Bake at 350°F (175°C) for about 40–45 minutes, or until the loaf is deeply golden brown.
If the top is browning much faster than the center is baking, keep an eye on it during the latter part of baking.
Once baked, remove the loaf from the pan and place it on a wire rack. For a softer, shinier crust, brush the hot loaf with a little melted butter.
Let it cool for at least an hour before slicing. Cutting homemade bread too early can compress the still-setting crumb.
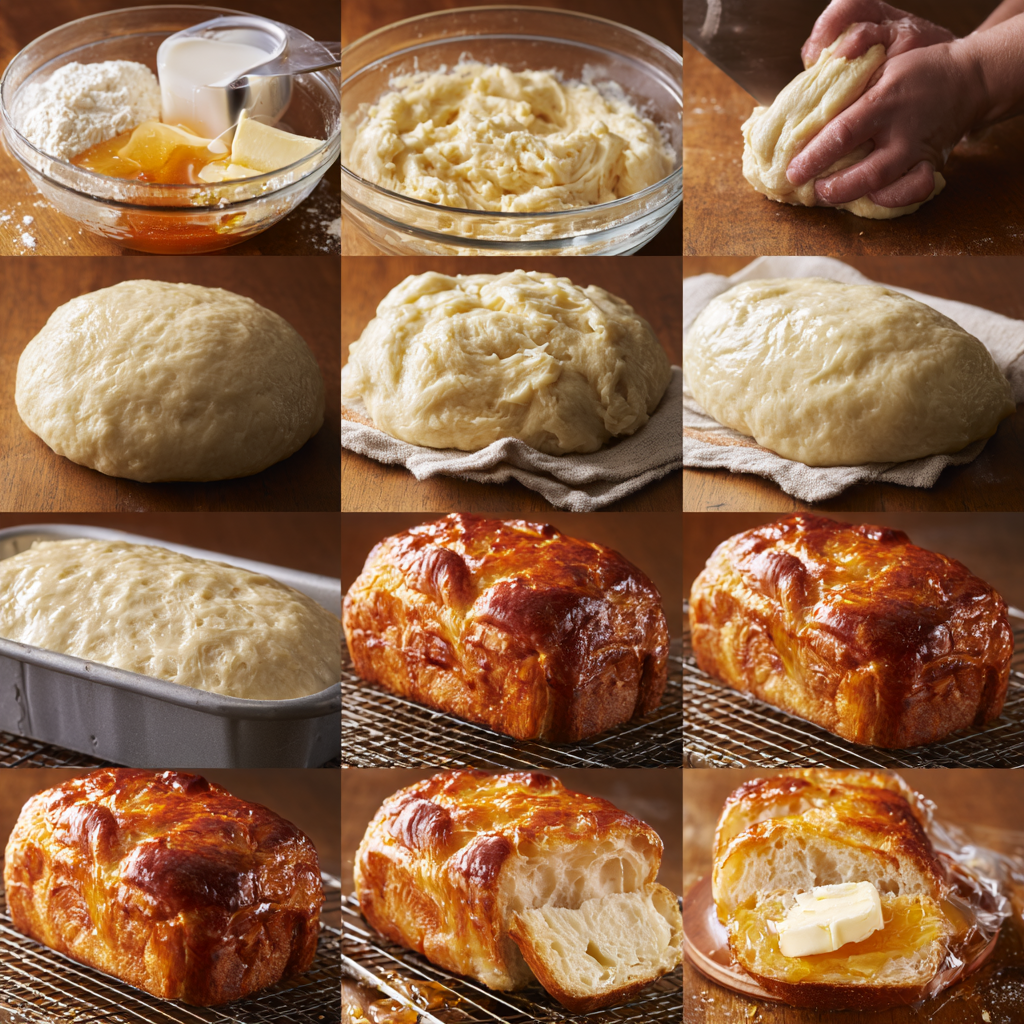
How to Tell When the Dough Has Risen Enough
The rise time is only an approximation. Your dough is done when it looks and feels done.
In the first rise, you want the dough to approximately double in size and feel noticeably airy and puffy.
The second rise should make the shaped loaf noticeably puffy and rise above the rim of the pan.
You can also lightly press a fingertip into the dough. If the indentation goes right back, then generally it needs more time. If the indentation remains in the dough, then it’s further along in its rise.
Common Problems and How to Fix Them
Why is my dough too sticky?
A slightly sticky bread dough isn’t necessarily a problem. Dough needs enough moisture to produce a tender loaf.
If it is so wet that it cannot hold its shape or continually sticks to the sides of the bowl, add flour gradually—about a tablespoon at a time—until it becomes manageable.
Avoid adding excessive flour, because a stiff dough can lead to a dense loaf.
Why didn’t my bread rise?
Several things can slow yeast activity.
The room may be cool, the yeast may be old, or the dough may simply need more time. Don’t automatically assume something went wrong just because the dough hasn’t doubled within the estimated time.
If the dough remains completely inactive for a long period, check the freshness of your yeast and make sure the dough is in a reasonably warm environment.
Why is my bread dense?
Dense bread can result from insufficient kneading, insufficient rising, or adding too much flour.
The dough should become elastic during kneading, and both rises should produce a visibly puffy dough.
Can I make the crust softer?
Yes. Brush the hot loaf with melted butter immediately after baking. Allowing the bread to cool under a clean kitchen towel can also help keep the crust softer. The supplied reference recommends this approach for a softer crust.
Easy Ways to Use Milk and Honey Bread
This is an especially versatile loaf because its sweetness is mild rather than pronounced.
Try it as:
- Sandwich bread for lunch
- Grilled cheese
- Morning toast with butter
- Toast with jam or preserves
- French toast
- Bread served alongside soup
- A simple snack with honey and butter
The slightly sweet flavor works with both sweet and savory toppings.
Can You Make This Bread Ahead?
Yes. Homemade bread can be prepared ahead and frozen once completely cooled.
Cool loaf and slice for easy storage before freezing. Put the slices into a tightly sealed freezer bag and take out pieces as necessary.
The reference suggests that the bread can be frozen for up to ~3 months and defrosted slice by slice as needed.
Let the loaf cool completely and store in an airtight container at room temperature for short-term storage. Reference suggests that it should be used within about 2 days.
Freezing is usually better for long-term storage. Ordinary homemade bread should not be refrigerated to extend its shelf life, as this will not produce the best texture.
Final Tips for Fluffy Milk and Honey Bread
The easiest way to get a good loaf is to pay attention to the dough rather than treating the recipe’s times as absolute. It should be soft and cohesive after mixing, elastic after kneading, doubled after the first rise, and distinctly puffy before the final bake.
And resist the temptation to slice it straight from the oven. Letting the loaf cool gives the tender crumb time to set, making those first slices much easier to cut cleanly.
This milk and honey bread recipe is simple enough for an everyday loaf but flavorful enough that it doesn’t feel like ordinary sandwich bread.
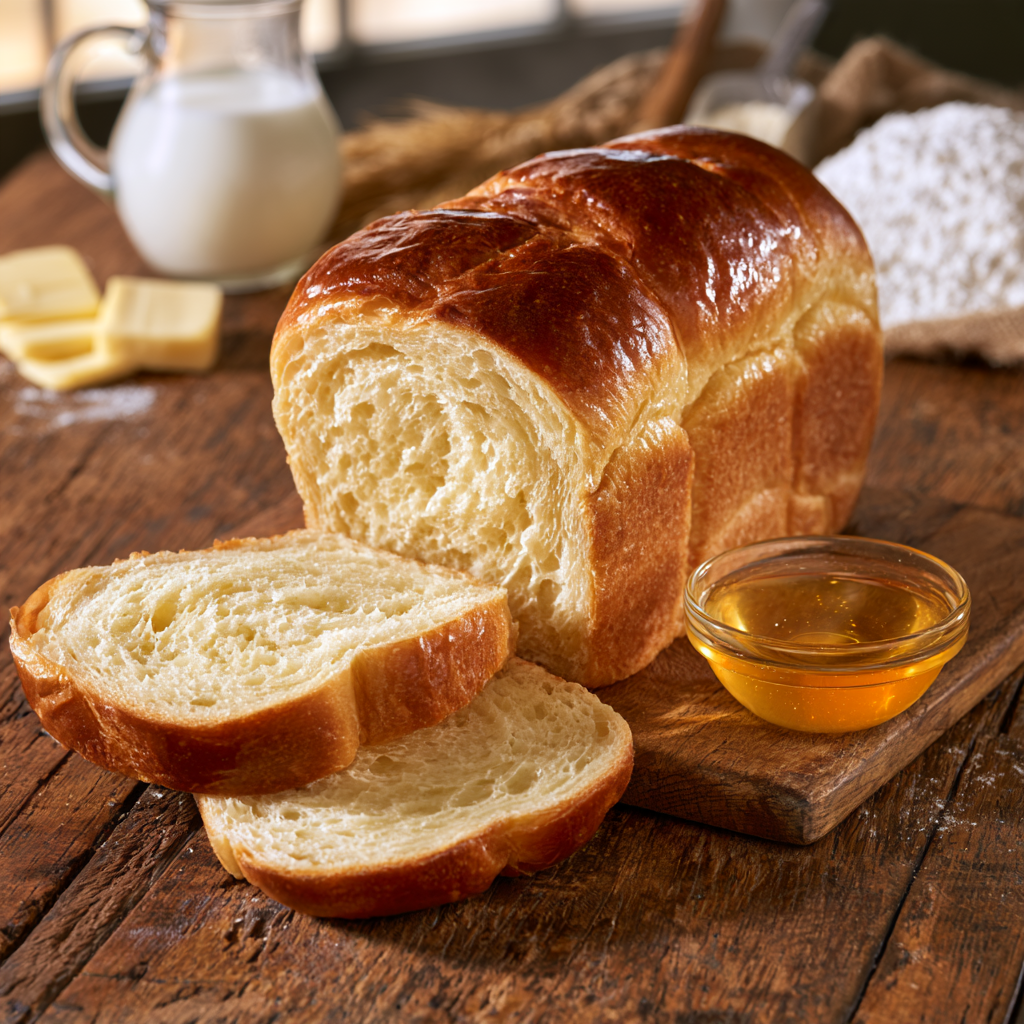
Milk and Honey Bread
Ingredients
Equipment
Method
- Add the flour, milk, honey, softened butter, salt, and instant yeast to a stand mixer fitted with a dough hook.

- Mix until the ingredients come together and form a dough. Add a little extra milk if the dough is too dry.
- Knead until the dough is smooth and elastic, about 10 minutes.
- Place the dough in a lightly greased bowl, cover, and let rise in a warm place until approximately doubled, about 45–60 minutes.
- Turn the dough onto a lightly floured surface and shape it into a rectangle.
- Roll the dough into a cylinder, tuck the ends underneath, and pinch the seam closed.
- Place the shaped dough seam-side down in a greased loaf pan.
- Cover and let rise again until very puffy and about 1 inch above the rim of the pan, approximately 45–60 minutes.
- Preheat the oven to 350°F (175°C).
- Brush the top of the risen loaf with milk.
- Bake for 40–45 minutes, until deeply golden brown.
- Remove from the pan and cool on a wire rack. Brush with melted butter while warm if a softer crust is desired.
- Let the bread cool for at least 1 hour before slicing.
Notes
- Judge rising by the dough’s appearance rather than relying only on the clock.
- The dough should be soft and cohesive, but not excessively wet.
- Avoid adding too much flour, which can make the loaf dense.
- The dough should become smooth and elastic after kneading.
- If the top browns too quickly, monitor it closely during the latter part of baking.
- Allow the loaf to cool before slicing so the crumb can finish setting.
- Store the cooled bread tightly wrapped at room temperature for short-term storage.
- The supplied source recommends freezing the bread for up to about 3 months.
- The source contains a yeast discrepancy: its ingredient section says 2 teaspoons, while its printable recipe says 2¼ teaspoons. This recipe uses 2¼ teaspoons.
Frequently Asked Questions
Can I use active dry yeast instead of instant yeast?
Active dry yeast can generally be used in yeast bread recipes, although its behavior can differ slightly from instant yeast. The supplied reference specifically uses instant yeast and notes that active dry yeast may take a little longer.
If your package gives different conversion instructions, follow the manufacturer’s guidance.
Do I need to warm the milk first?
Not necessarily. This recipe is written around instant yeast, which does not require the traditional yeast-proofing step used in many older bread recipes.
The important consideration is avoiding excessively hot liquid, which can damage yeast.
Can I use bread flour instead of all-purpose flour?
You can, but it may change the texture. The supplied recipe specifically calls for all-purpose flour, so that is the simplest choice if you want to stay close to the stated formula.
Can I make this bread without a stand mixer?
Yes. A stand mixer makes kneading easier, but the dough can also be kneaded by hand.
The important endpoint is the texture: the finished dough should be smooth, elastic, and able to stretch without tearing immediately.
Why should I wait before slicing the loaf?
Freshly baked bread continues setting as it cools. Slicing it while extremely hot can squash the crumb and make the interior seem gummy.
Give the loaf at least an hour to cool before cutting for cleaner slices.