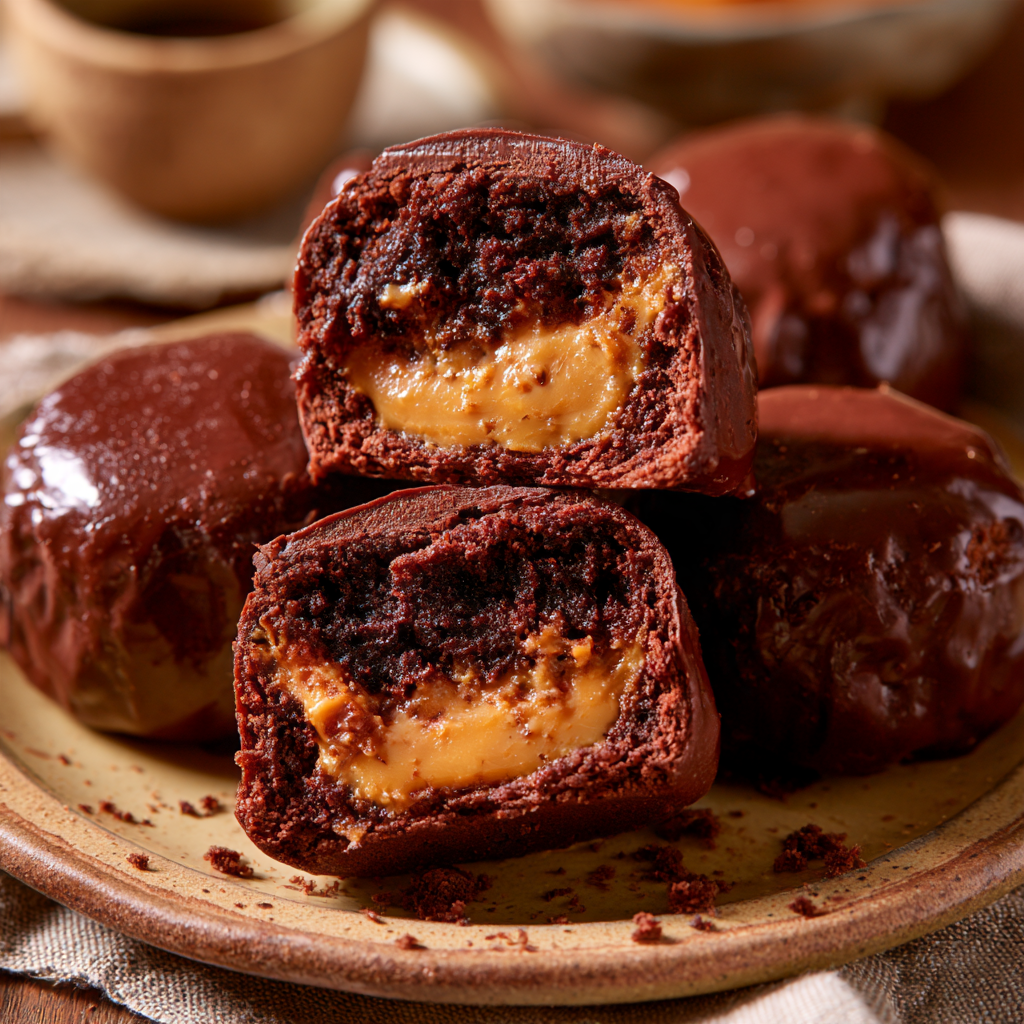
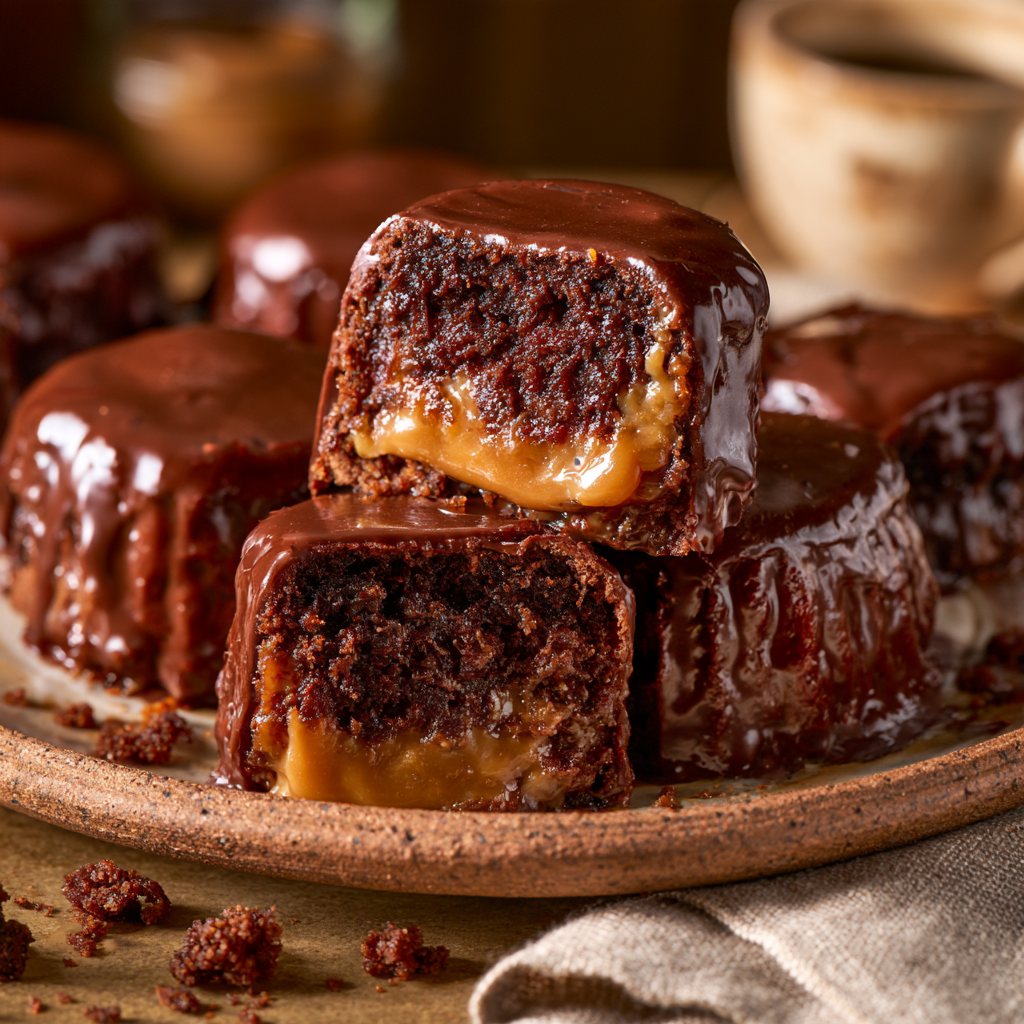
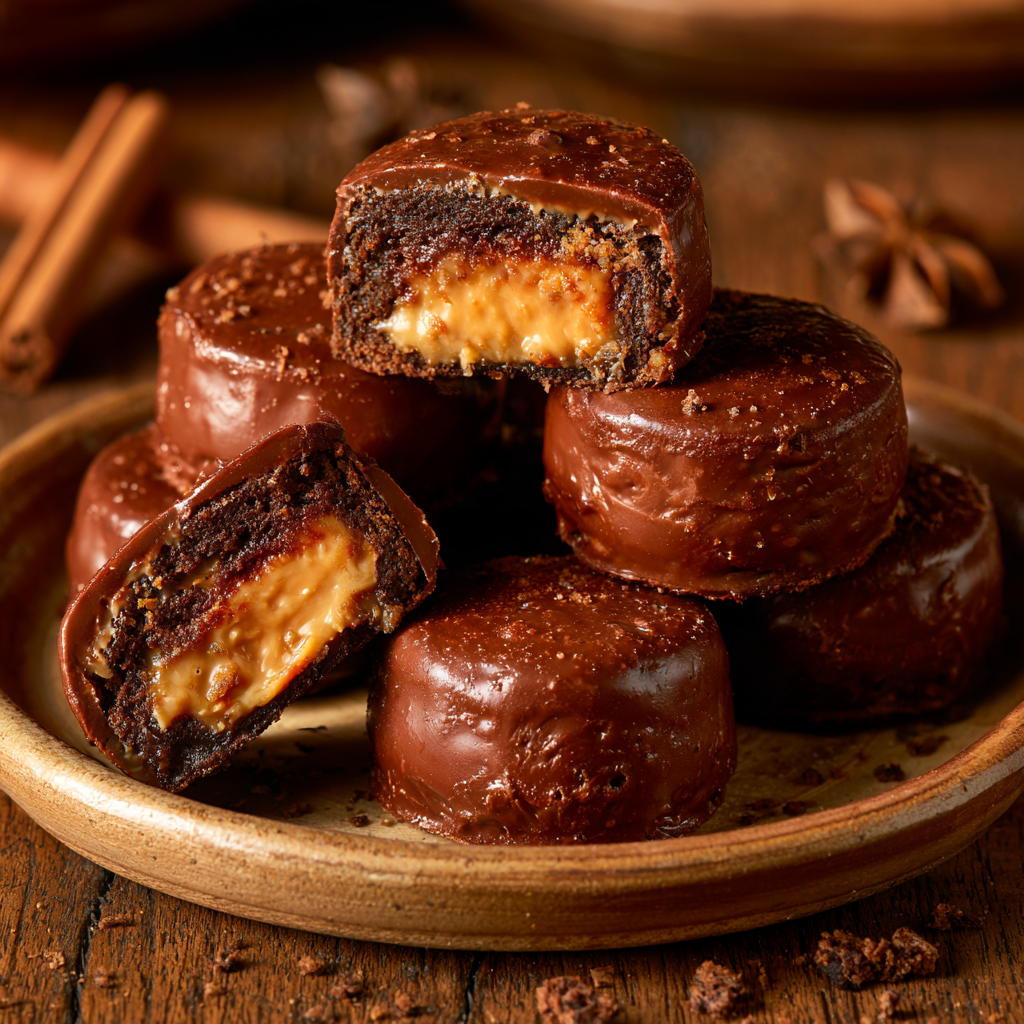
One of those Brazilian sweets whose name can be misleading, pão de mel is closer to a soft, spiced chocolate cake, though it translates roughly to “honey bread.” The classic is a mix of honey, cocoa, cinnamon, and cloves, then sandwiched with doce de leite (dulce de leche) and coated in chocolate.
This Brazilian honey cake recipe follows that classic pairing, but simplifies the process for a home cook. The most important details are simple: infuse the milk with the spices, do not overmix the batter, do not overbake the cakes, and cool completely before filling.
What Is Pão de Mel?
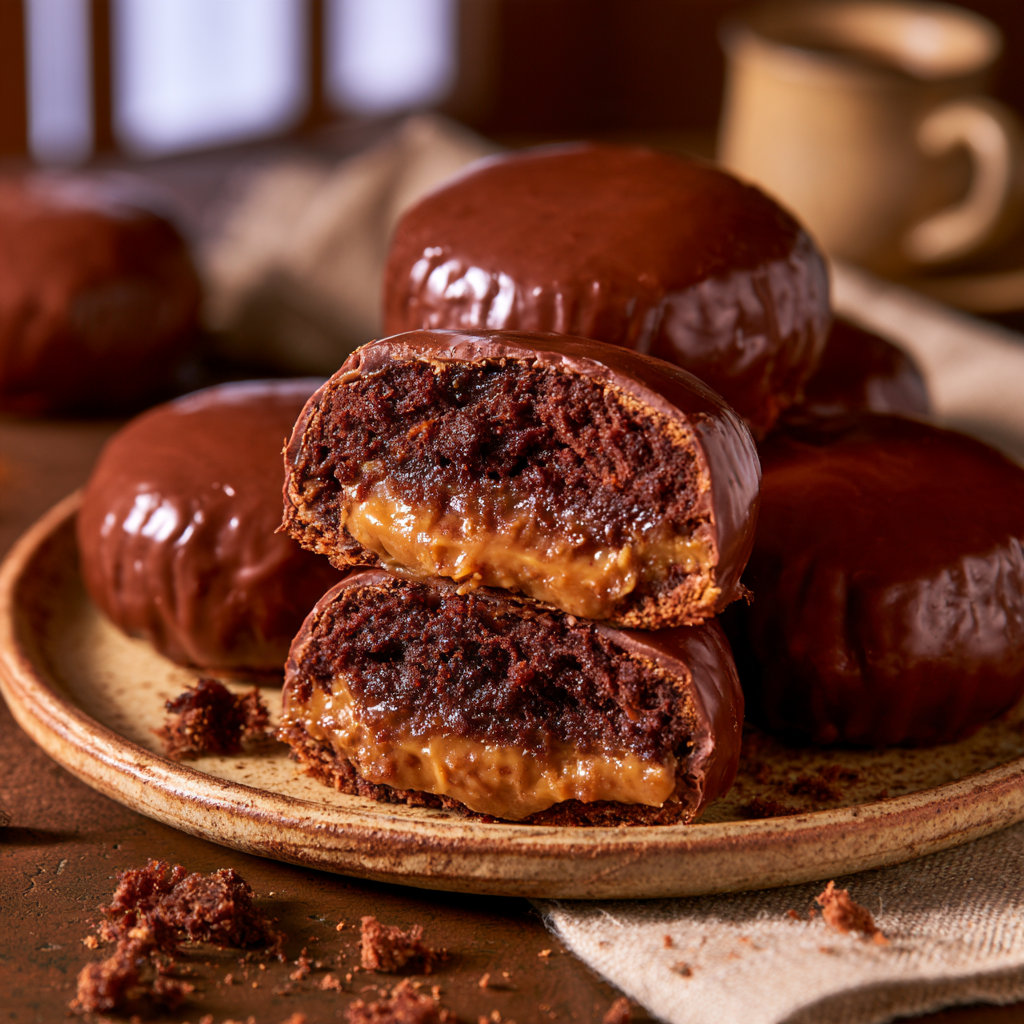
Pão de mel (honey bread) is a Brazilian honey cake, traditionally a small spiced cake, individually portioned. Many versions use honey, cocoa, and warm spices, with dulce de leche between two pieces of cake, and a chocolate coating on the outside.
Its history is still somewhat unsettled. The Brazilian sweet is generally associated with older European honey-and-spice cake traditions, although the exact origin of pão de mel is disputed. Brazilian style is characterized by the combination of soft spiced cake, creamy doce de leite, and chocolate.
So if you’ve searched for a Brazilian honey bread recipe, you’re likely looking for pão de mel rather than a yeasted bread.
Why This Recipe Works
There are four things that give these cakes their characteristic texture and flavor:
- Honey provides sweetness and helps keep the cake moist.
- Cocoa gives the crumb a gentle chocolate flavor without turning it into a conventional chocolate cake.
- Infused spices distribute cinnamon, clove and nutmeg throughout the batter.
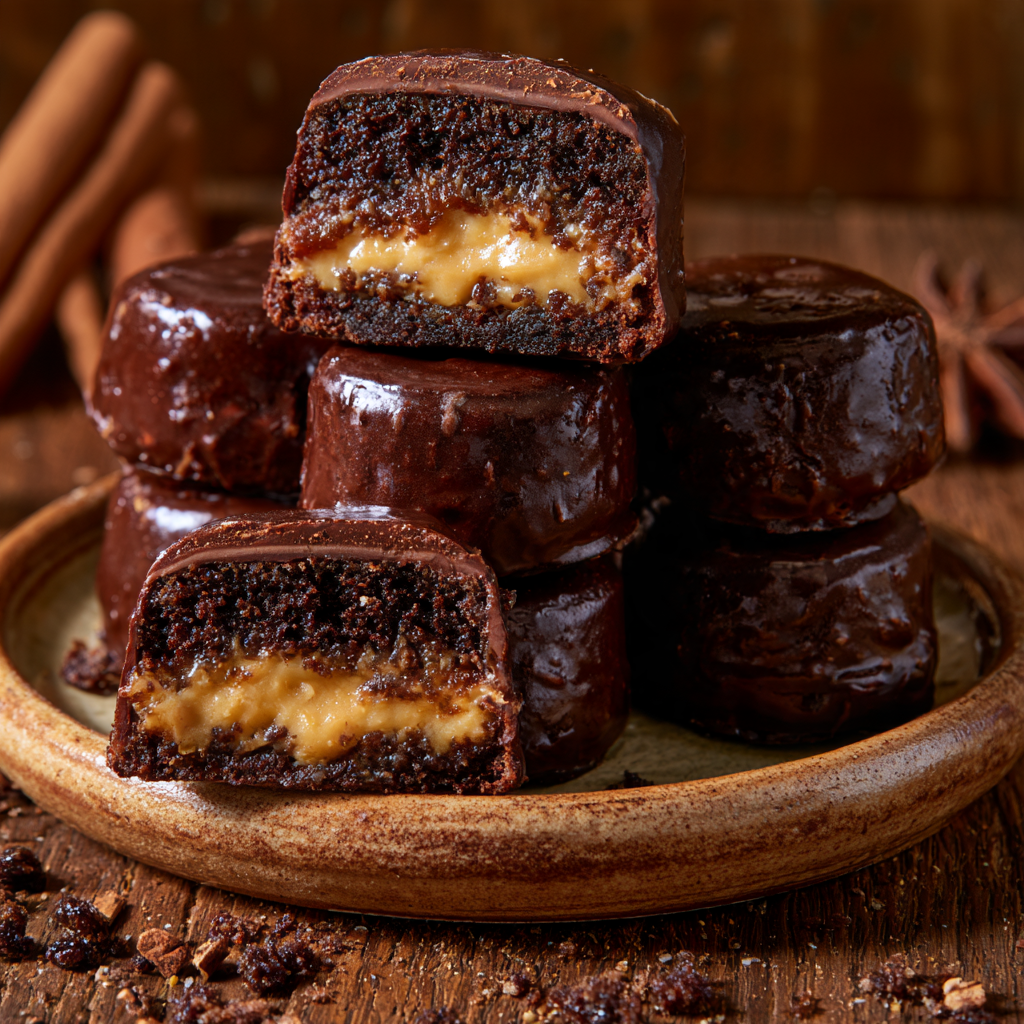
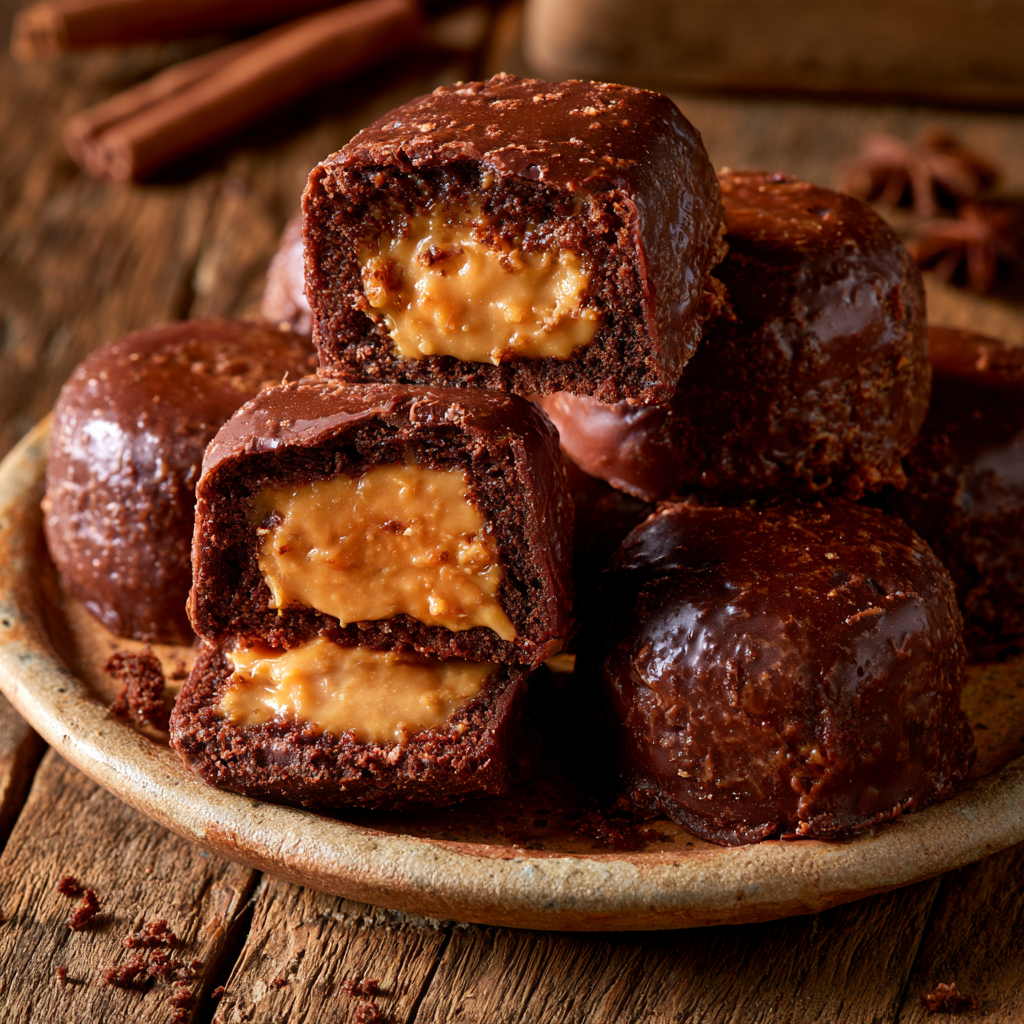
- Dulce de leche and chocolate provide the rich filling and contrasting shell that make pão de mel recognizable.
The batter should be mixed only until the flour disappears. Overmixing develops gluten and can make these small cakes heavier than intended.
Ingredients
For the honey cakes
- 1 ¼ cups (300 ml) whole milk
- 1 teaspoon ground cinnamon
- ½ teaspoon ground cloves
- ¼ teaspoon freshly grated nutmeg
- ¾ cup (255 g) honey
- 3 large eggs
- 1 cup (200 g) packed light brown sugar
- 2 teaspoons vanilla extract
- ½ teaspoon fine salt
- ½ cup (120 ml) neutral vegetable oil
- ⅓ cup (30–35 g) unsweetened Dutch-process cocoa powder
- 1 teaspoon baking powder
- 1 teaspoon baking soda
- 2 ½ cups (300 g) all-purpose flour
For the filling
- About 1½ cups (360 g) thick dulce de leche
For the chocolate coating
- 500–600 g bittersweet or semisweet chocolate, finely chopped
Yield: about 18–24 small cakes, depending on the size of your molds
Bake: 350°F (175°C) for approximately 15–20 minutes
Total time: about 1 hour, plus cooling and coating
The quantities above are a home-kitchen adaptation rather than a transcription of any single published recipe. Brazilian versions vary considerably in their proportions and fillings. For comparison, published recipes from Brazilian and Brazilian-focused sources use the same core combination of honey, spices, cocoa, flour, leavening, dulce de leche and chocolate.
Ingredient Notes and Substitutions
Honey
A mild floral honey works especially well. Strongly flavored honey can dominate the spices.
Cocoa powder
Dutch-process cocoa gives the cakes a darker color and mellow chocolate flavor. Natural cocoa can work, but because cocoa acidity varies by brand, the finished cake may have a slightly different flavor and rise.
Brown sugar
Brown sugar contributes moisture and a deeper caramel note. Light or dark brown sugar can be used; dark brown sugar will make the cakes more intensely molasses-like.
Whole milk
Whole milk gives the best richness, but 2% milk is a reasonable substitute.
Dulce de leche
Use a thick dulce de leche rather than a very loose sauce. The filling should stay in place when the cakes are sandwiched.
If you cannot find dulce de leche, a thick caramel filling is the closest practical alternative, although the flavor won’t be quite the same.
Chocolate
Bittersweet chocolate balances the sweet filling particularly well. Milk chocolate creates a sweeter, softer-tasting coating.
Equipment
You don’t need specialty pão de mel molds.
Useful equipment includes:
- Small saucepan
- Large mixing bowl
- Whisk
- Fine-mesh sieve
- Blender
- Small round cake molds, ramekins or muffin tins
- Serrated knife
- Baking sheets
- Parchment paper
- Two forks or dipping tools
- Kitchen thermometer, if tempering the chocolate
A muffin tin is a practical substitute for individual pão de mel molds. Published recipes use both small molds and muffin tins successfully.
How to Make Brazilian Honey Cake
1. Infuse the milk with the spices
Put the milk, cinnamon, cloves and nutmeg in a small saucepan.
Warm over medium heat until the milk just reaches a simmer. Don’t let it boil aggressively.
Remove the pan from the heat and stir in the honey. Cover and let the mixture cool to room temperature.
Why this matters: warming the spices in the milk releases their aroma and distributes their flavor more evenly than simply dumping the spices into the finished batter.
2. Blend the wet ingredients
Once the milk mixture has cooled, transfer it to a blender.
Add the eggs, brown sugar, vanilla, salt and vegetable oil. Blend briefly until the mixture is smooth and evenly combined.
The mixture doesn’t need to become foamy. You’re simply creating a uniform liquid base.
3. Add the dry ingredients
Sift the cocoa powder, baking powder, baking soda and flour into a large bowl.
Pour in the blended liquid mixture gradually, whisking gently.
Stop mixing as soon as there are no obvious streaks of dry flour.
Don’t overmix. A few seconds of extra mixing can make a noticeable difference in a small, tender cake.
4. Fill the molds
Heat the oven to 350°F (175°C).
Grease your molds lightly and dust them with cocoa powder, or line a muffin tin as appropriate for your pan.
Fill each cavity no more than halfway. The batter rises as it bakes, and overfilled molds can produce tall domes that are harder to sandwich neatly.
5. Bake
Bake for approximately 15–20 minutes.
Start checking toward the lower end of the range. A toothpick inserted into the center should come out clean or with a few moist crumbs attached.
The cakes should look set rather than wet in the middle.
Avoid baking until the edges become very dark. Small honey cakes can lose moisture quickly once they’re overbaked.
6. Cool completely
Let the cakes cool before removing them from their molds.
Once completely cool, use a serrated knife to slice each cake horizontally into two even pieces.
If the cakes have pronounced domes, trim the tops first if you want flatter, more professional-looking sandwiches.
7. Fill with dulce de leche
Spread a layer of dulce de leche over one half of each cake.
Don’t take the filling all the way to the edge; leaving a small border helps prevent it from squeezing out when the second half is placed on top.
Add the other cake half and gently press together.
8. Coat with chocolate
Dip each filled cake into melted chocolate using two forks.
Allow excess chocolate to drip back into the bowl, then transfer each cake to parchment paper.
Leave them undisturbed until the chocolate has completely set.
How to Get the Chocolate Coating Right
You can just melt the chocolate and use it as a coating, but tempering gives pão de mel a more refined finish.
Correctly tempered chocolate will be firm and have a high sheen, and will snap more cleanly when bitten. A thermometer makes the job a lot easier.
For dark or bittersweet chocolate, a common seeding method is:
- Melt about two-thirds of the chopped chocolate gently over a double boiler.
- For dark chocolate, heat it to approximately 118°F (48°C).
- Remove it from the heat.
- Add the remaining chopped chocolate.
- Stir continuously until the chocolate cools to approximately 88–89°F (31–32°C).
- Dip the cakes while maintaining that working temperature.
Keep water away from the chocolate. Even a small amount can cause melted chocolate to seize and become thick and grainy.
Don’t want to temper chocolate?
That’s completely fine for a casual batch.
Melt the chocolate gently and coat the cakes. The finished shell may be softer and less glossy, but the cakes will still taste like pão de mel.
Common Mistakes
The cakes turned out dry
They were probably baked too long.
Because these are relatively small cakes, check them early. Remove them as soon as the center is set.
The cakes are dense
Overmixing is a likely culprit. Once the flour is incorporated, stop whisking.
Also make sure your baking powder and baking soda are reasonably fresh.
The cakes don’t taste very spiced
Infusing the spices in warm milk helps considerably. For a stronger spice profile, increase the cinnamon slightly rather than adding a large amount of clove, which can quickly overpower the cake.
The dulce de leche leaks out
The filling may be too loose or the layer may be too thick.
Use a firm dulce de leche and leave a small border around the cake.
The chocolate coating is streaky
This is usually a tempering or temperature problem. If you’re tempering chocolate, use a thermometer and keep the chocolate within its working range.
If you’re not tempering, uneven cooling can also produce a dull or streaky finish.
The chocolate seized
Water is the usual enemy. Keep steam, condensation and wet utensils away from the chocolate.
Easy Variations
Classic dulce de leche
This is the version to make if you want the familiar Brazilian combination: spiced honey cake, creamy doce de leite and chocolate.
Brigadeiro filling
For a richer Brazilian dessert, replace some or all of the dulce de leche with a firm brigadeiro filling. Pão de mel is also made with fillings other than dulce de leche, including brigadeiro and fruit-based combinations.
Coconut
Add a thin layer of coconut filling inside the cakes. Keep the filling relatively firm so it doesn’t squeeze out.
Passion fruit
A tart passion-fruit filling can cut through the sweetness of the chocolate and dulce de leche.
Make them smaller
For party favors or cookie-box-style treats, use smaller molds and reduce the baking time accordingly. Start checking them early rather than relying on the full 15–20 minute range.
Serving Suggestions
Brazilian honey cakes are particularly good with:
- Fresh coffee
- Espresso
- Black tea
- A glass of cold milk
- A dessert platter with other Brazilian sweets
They make great gifts and party favors, too, when wrapped individually. In Brazil, pão de mel is often associated with parties and gifts.
For the best texture, let a refrigerated cake sit out at room temperature for a little while before serving so the filling and chocolate are not quite so firm.

Storage and Freezing
Store completely coated cakes in an airtight container.
Store as per the recommendations for the particular filling and chocolate you use for best results. A pão de mel covered with a good coating can last a bit since the chocolate shell will provide some protection, but homemade cakes are usually best if eaten when the texture is still fresh.
For longer storage, freezing is practical.
To freeze
- Place the finished cakes in a single layer until firm.
- Wrap or pack them in an airtight freezer-safe container.
- Freeze for up to about 3 months for good quality.
- Thaw overnight in the refrigerator.
- Let them come closer to room temperature before serving.
Published pão de mel recipes also describe freezing the finished cakes and thawing them in the refrigerator before serving.
Final Thoughts
A great recipe for Brazilian honey cake is all about contrast: a cake of cocoa and spice, thick dulce de leche in the middle, and a thin shell of chocolate on the outside. The recipe isn’t technically difficult, but it’s the little things, particularly gentle mixing and careful baking, that make the biggest difference.
If you’re making pão de mel for the first time, don’t worry about perfect tempering. Keep to soft cakes and thick filling – get those two right and the chocolate topping is the easy bit.
Brazilian Honey Cake (Pão de Mel)
Ingredients
Equipment
Method
- Warm the milk with cinnamon, cloves, and nutmeg until gently simmering. Remove from the heat, stir in the honey, and cool.
- Blend the cooled milk mixture with eggs, brown sugar, vanilla, salt, and oil until smooth.
- Sift the cocoa, baking powder, baking soda, and flour into a bowl.
- Gradually whisk the liquid mixture into the dry ingredients until just combined. Do not overmix.
- Fill greased molds about halfway with batter.
- Bake at 350°F (175°C) for 15–20 minutes, or until the centers are set and a toothpick comes out with a few moist crumbs.
- Cool completely, then slice each cake horizontally.
- Spread dulce de leche between the cake layers and gently sandwich them together.
- Melt the chocolate and dip each filled cake until completely coated.
- Place on parchment paper and allow the chocolate to set before serving.
Notes
- Use thick dulce de leche so the filling stays inside the cakes.
- Don’t overbake; pão de mel should remain soft and moist.
- A muffin tin works well if you don’t have pão de mel molds.
- Tempering the chocolate is optional but gives the coating a shinier finish and firmer snap.
- Store the finished cakes in an airtight container.
- The cakes can be frozen for up to about 3 months for good quality.
Frequently Asked Questions
Is pão de mel the same as gingerbread?
Not exactly. Both can contain honey and warm spices, but pão de mel has its own Brazilian style. It is typically made with a soft cocoa-and-spice cake, dulce de leche filling, and a chocolate coating.
Why is it called Brazilian honey bread?
Pão de mel literally means “honey bread” in Portuguese. Despite the name, the Brazilian sweet is generally cake-like rather than a traditional yeast bread.
Can I make Brazilian honey cake without dulce de leche?
Yes. You can leave the cakes unfilled or use another thick filling such as brigadeiro. Dulce de leche is one of the most traditional fillings for pão de mel.
Can I use a muffin tin to make pão de mel?
Yes. A muffin tin is a convenient alternative to dedicated pão de mel molds. Fill the cavities about halfway and check the cakes early because baking time can vary depending on their size.
Do I have to temper the chocolate?
No. Tempering is optional. It gives the chocolate coating a shinier appearance, firmer texture, and cleaner snap, but you can simply melt the chocolate and use it as a coating.
Can I freeze Brazilian honey cakes?
Yes. Finished pão de mel can be stored in an airtight, freezer-safe container for up to about 3 months for good quality. Thaw overnight in the refrigerator before serving.
How should I store pão de mel?
Store completely cooled and coated pão de mel in an airtight container. Refrigerate when appropriate based on the filling you use.