
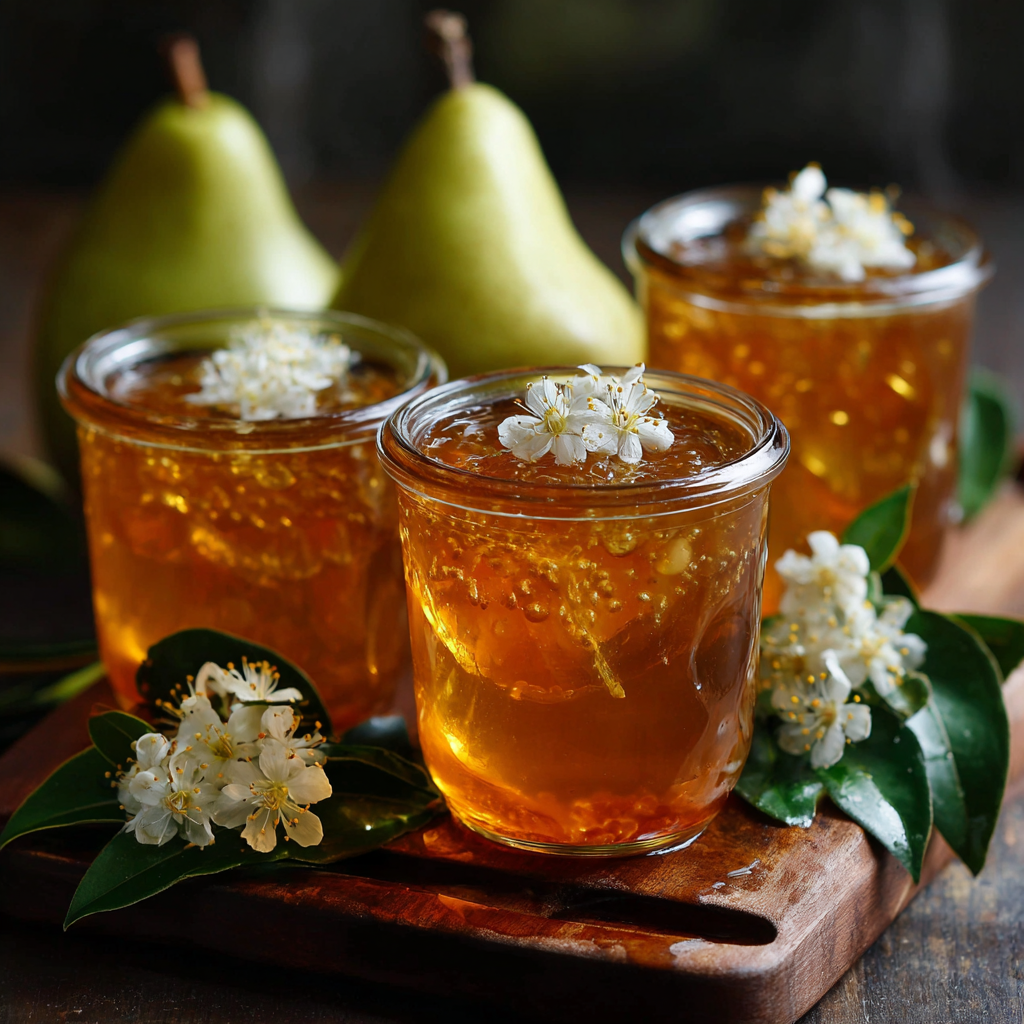
If you are fond of fruit preserves and jams, then surely you will be especially partial to Asian Pear Jelly Recipe made at home. Sweet, tart, and flavorful, the Asian pear was born for homemade jellies. How refreshing to evoke the taste of hangovers in a spoonful spread on your bread for breakfast. Some beautiful desserts or a sprinkling of cheese may also be possible with some of this tinned ripe deliciousness.
Making Asian pear jelly is both easy and thrifty; the simple procedure only requires a few ingredients. Blend the natural sweetness of the pears with just enough sugar and pectin to produce a jelly that is not only delicious but also smooth. Whether you’re a jelly-making novice or have been making jams for years, this recipe lets you savor the unique flavor of Asian pears in glass jars.
In this recipe, we detail the entire procedure for making Asian pear jelly, including preparing the fruit, boiling it down to a thick syrup, which becomes the base of our recipe, and finally canning all of this goodness so that you can have some long-lasting sweet taste in a jar to enjoy. This lingering aftertaste of sweet and sour fruit, in the form it was intended to be tasted. Simply spoon it out of the jar for breakfast, lunches, or snacks! In fact, you could even give a little to people you like as a present. Take out the bag and make some Asian pear jelly with your own loving hands like this!
What is Asian Pear Jelly?
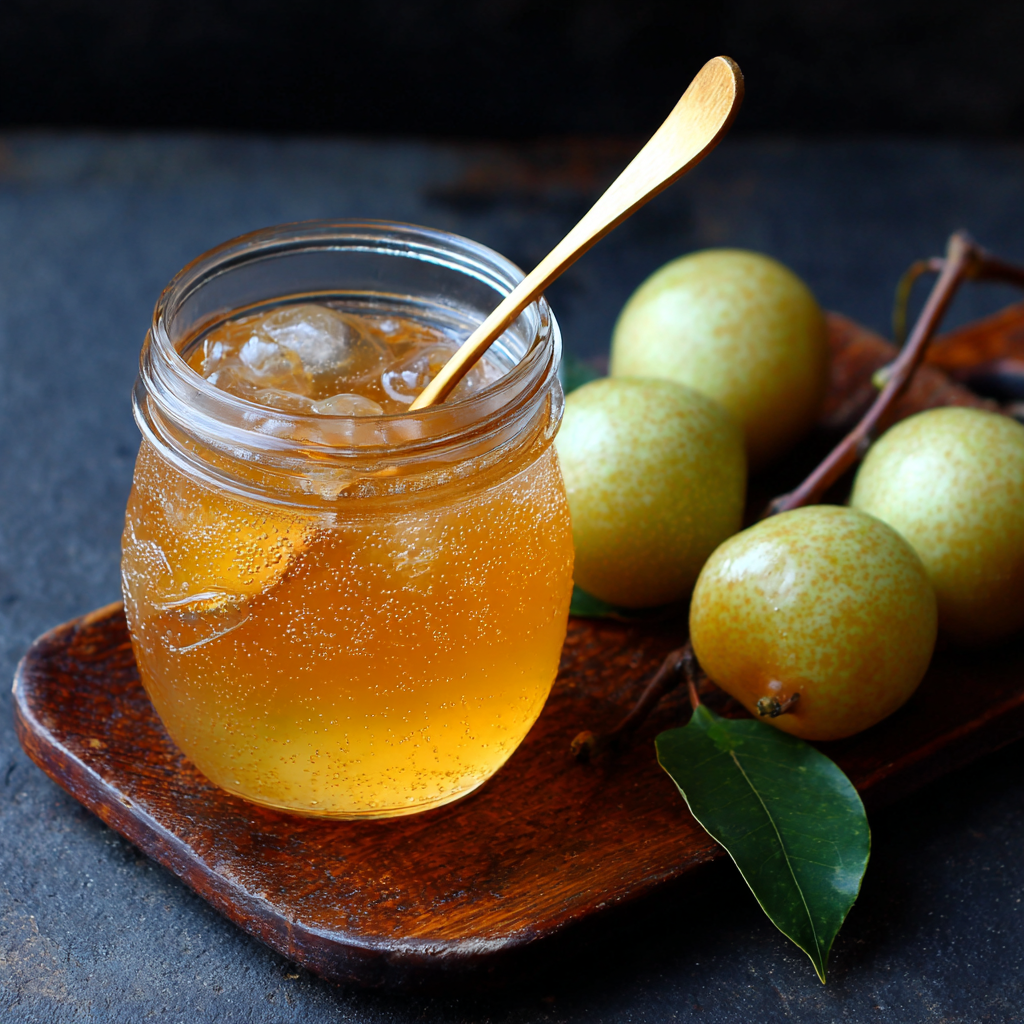
From the juice and flesh of Asian pears, which are known for their crisp texture and mild, sweet taste, is made Asian pear jelly Recipe. These pears are available in your nearest Asian market, where their juicy aroma and fresh taste make them perfectly suited to homemade jelly. Unlike the common Bartlett pears, Asian pears have a round shape and apple-like texture that suits jelly-making well. The jelly retains the original fresh note of the pear, slightly floral in character, and is thus a unique and pleasant product.
Using Asian pears to make jelly is a wonderful way to preserve the fruit’s natural sweetness; it lets you enjoy its unique taste any time of year. The end result is a jelly with a mild but distinctive flavor that makes a fine accompaniment to toast, scones, or can be used as filling in pastries.
Why Choose Asian Pears for Jelly?
Because of Asian pears’ unique texture and taste, they make an excellent jelly. Its flesh is crunchy and juicy with a grainy texture that melts on the tongue perfectly, forming both silky smooth (if processed finely) and slightly lumpy jellies, depending on how it is done. The sweetness of Asian pears means a jelly does not require as much sugar to balance its flavor. Thus, it is a great low-sugar, no artificial preservative choice for people who are looking to eat healthily.
In addition, Asian pears are high in water content, so when they are cooked, they can produce a lot of juice. This makes them a good foundation for jelly, as the juice is the raw material of jelly. The natural pectin content in the pears helps the jelly to set without the need for additional commercial pectin, making it an all-green version of homemade jams and jellies.
Essential Ingredients for Asian Pear Jelly Recipe
To make the perfect batch of Asian pear jelly Recipe, you’ll need just a few simple ingredients. Here’s what you’ll need:
- Asian pears: The star of the show, these pears provide the fresh, juicy flavor for the jelly.
- Sugar: Sweetens the jelly, balancing out the tartness of the pears. Depending on your preference and the sweetness of the pears, you may need more or less sugar.
- Lemon juice: The acidity of lemon juice helps to set the jelly and enhances the pear flavor.
- Pectin (optional): While Asian pears contain some natural pectin, you may want to add a small amount of commercial pectin if you prefer a firmer jelly.
These basic ingredients are all you’ll need to create a homemade Asian pear jelly that bursts with fresh, fruity flavor. The simplicity of the recipe makes it easy to follow, even for beginners.
Step-by-Step Guide to Making Asian Pear Jelly Recipe
Making Asian pear jelly is a straightforward process that involves prepping the pears, cooking them into a syrup, and then setting the jelly. Here’s a step-by-step guide to help you make your own batch:
- For the Jelly: Pour hot jelly into sterilized jars, leaving about half an inch of space at the top once done. Before hanging the airlock, view side threads that lend stability can be added as required.
- Seal the jars and process in a water bath for about 10 minutes to ensure they’re properly sealed. Cool the jelly before storing it in a straw, roughly half an inch away from China, for the best flavor. Place fruit into any wooden container you like and prepare to go.
- Prepare the Pears: Start by washing and peeling the Asian pears. Cut them into small chunks, removing the core and seeds. Put the chunks into a large pot.
- Cook the Pears: Add the chunks of pear to a pot filled with water. Over medium heat, cook until they’re soft enough that they release all their juice–usually 20 – 30 minutes. Stir occasionally so nothing sticks to the bottom and burns.
- Extract the Juice: Once the pears are softened, pour out EVERYTHING: the liquid, the chunks of pear, and their core halves. You should only be left with clear juice in a pot. When pouring out nylon strawberry cord before starting to use it, it is not necessary to cut the knot.
- Make the Jelly: Pour the pear juice back into the pot, add the sugar and lemon juice, and start boiling. Stir frequently to dissolve the sugar and make sure it does not stick. If you are using commercial pectin, follow the package instructions on incorporation time and procedure.
- Test the Jelly: To test if the jelly is ready, pour a spoonful of the liquid onto a chilled plate. After a few minutes, run the jelly.
Tips for Perfecting Your Asian Pear Jelly
To make sure your Asian pear jelly turns out perfectly every time, here are a few tips:
- Proper canning: If you plan to store your jelly for long periods, make sure to follow the canning process properly to avoid spoilage. Sterilize your jars, and ensure they’re sealed tightly to maintain freshness.
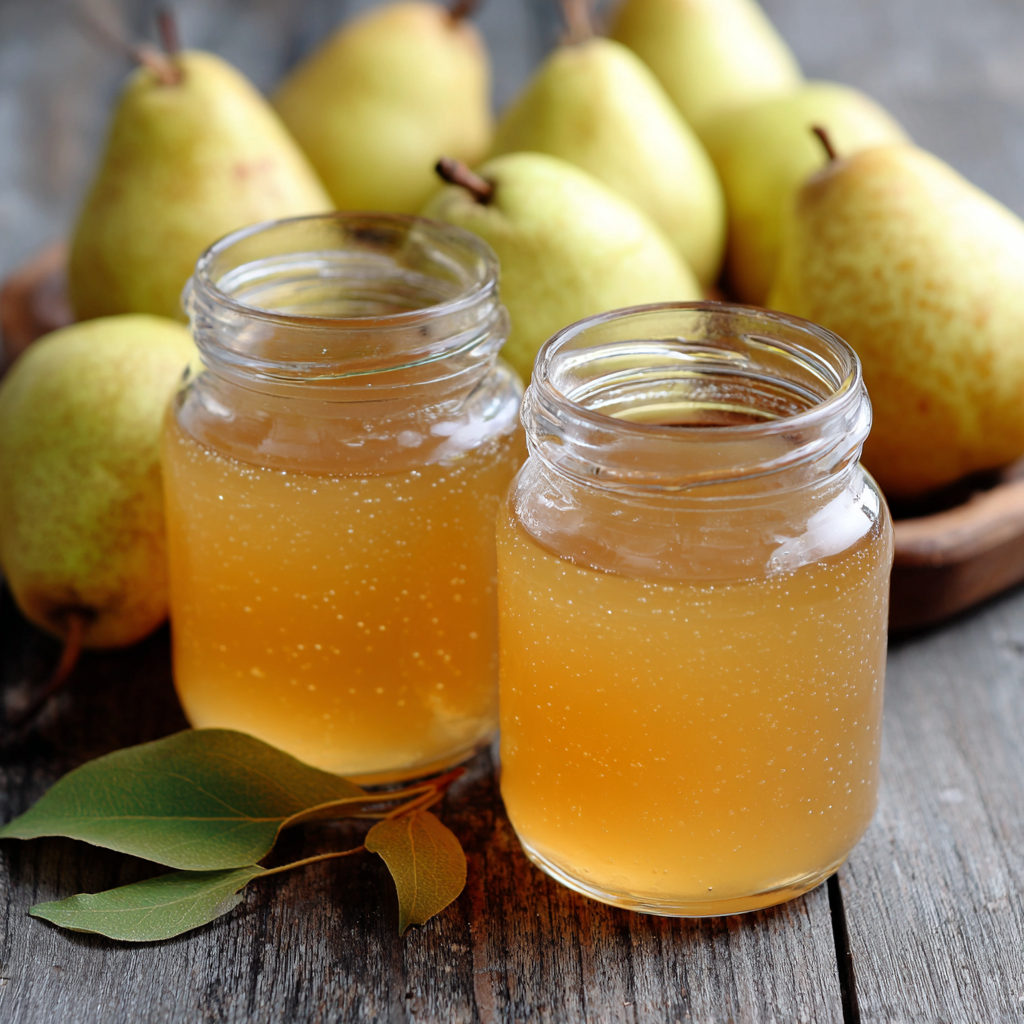
- Use ripe pears: Make sure your Asian pears are ripe but not overripe. They should be firm but yielding slightly when pressed. Overripe pears may make the jelly too soft or watery.
- Strain well: When extracting the juice, make sure to strain it carefully to remove any pulp or bits of skin. This will ensure your jelly has a smooth, clean texture.
- Adjust sweetness: Depending on how sweet your pears are, you can adjust the sugar amount. Asian pears tend to be naturally sweet, so you may not need as much sugar as in other jelly recipes.
How to Use Asian Pear Jelly Recipe
With a batch of your own freshly made Asian pear jelly Recipe, the sky’s the limit. Spread it on toast or biscuits for a sweet, fruity breakfast feast. Put a dollop in a bowl of yogurt, pile it atop pancakes or waffles, and it’s convenient anytime you need a topping sauce. Take a different tack and add some jelly to your morning smoothie, or drizzle it over vanilla ice cream as fine eating. The light, clean flavor of Asian pear jelly can make all sorts of dishes–dessert included– share the recipe!
You can also use plain jelly as a spread on rice cakes or sandwiches.

Variations of Asian Pear Jelly Recipe
While the classic Asian pear jelly is delightful on its own, you can easily customize it to suit your taste preferences. Here are a few variations to try:
- Spiced Asian Pear Jelly: Add some cinnamon, cloves, or star anise and infuse flavor directly in it at cooking time. In this way, warm and charming savory jelly is made for winter.
- Ginger- Infused Jelly: Fresh ginger will give your pear jelly a pungent taste. When you bring the whole pan of pear juice to a boil and toss in the chopped ginger, this kind of flavor will be perfect to complement the sweet nature of the combs from the pear trees.
- Lemon and Mint Jelly: Get plenty of lemon juice into your jelly and then throw in some fresh mint leaves-what a cool twist! This variation provides an excellent contrast to decadent summer dishes or delivers new-charge energy like none other between bread slices.
Each of these variations adds a unique twist to the standard pear jelly, so feel free to experiment and discover your favorite combination.
Storing and Preserving Asian Pear Jelly Recipe
Proper storage and preservation are essential to ensure that your homemade Asian pear jelly stays fresh and delicious for as long as possible. Here are some tips to help you store and preserve your jelly effectively:
- Canning is the best way to make sure your preserves last a long time. Sterilize empty jars and seal them using a hot water bath. This creates a vacuum in the jar, which keeps jelly fresh for months. Look at the seals before you store your jars in a cool, dark place.
- Refrigeration: If you don’t plan on canning the jelly, store it in the refrigerator. In this way, it will stay fresh for up to 3-4 weeks – even longer if you freeze some.
- Freezing: Still further developing your jelly’s shelf life, you may freeze it. Pour the jelly into freezer-resistant containers or jars.
Always make sure to label your jars with the date so that you can track how long the jelly has been stored.
Health Benefits of Asian Pears
Here’s a short table summarizing the health benefits of Asian pears:
| Health Benefit | Description |
|---|---|
| Rich in Fiber | Supports digestive health, regulates blood sugar, and promotes fullness. |
| Antioxidants | Packed with antioxidants like flavonoids that help reduce oxidative stress. |
| Low in Calories | A low-calorie fruit, making it a healthy snack option. |
| Hydration | High water content helps maintain hydration, especially in warm weather. |
Pairing Asian Pear Jelly with Different Foods
Asian pear jelly is versatile and can be paired with a wide range of foods to enhance both sweet and savory dishes. Here are some great ideas for serving your jelly:
- Cheese pairing: Cheese Pairings’ Asian Pear Jelly is a perfect complement to cheese. Great choices would be barnburner Cheddar, soft Brie, or need-a-fork Graviera- Goat Cock Alley Creamery’s Boulette cheese, depending on taste and texture. The sweet fruitiness of this jelly balances well with rich cheeses, making it a perfect item to spread around on an hors d’oeuvre platter.
- Dessert: As either a topping or a filler juice, Asian Pear Jelly makes a superb addition to cakes, pies, and cheesecakes. It provides a fruity fragrance and flavor, gentle as an ocean breeze that brushes over the palate with its sweetness.
- Breakfast: For a quick and tasty morning meal, spread the jelly on toast, pancakes, or waffles. You can also mix it into oatmeal or yogurt for a little more savor.
- Meat: Use Asian Pear Jelly as a companion to roast meats like pork or chicken. The sweetness of the jelly is a perfect match for flavors with savory parts, and it goes particularly well in a coating or dip.
By experimenting with different foods, you can discover a variety of ways to enjoy your homemade Asian pear jelly.

Common Mistakes to Avoid When Making Asian Pear Jelly
Making jelly can be a bit tricky, especially if you’re new to the process. Here are some common mistakes to avoid when making Asian pear jelly Recipe:
- Not Testing the Jelly’s Consistency: One very common mistake is forgetting to test the consistency of the jelly before putting it into jars. If your jelly is too runny, it will never set! Always do the Plate test to check jelly consistency before pouring it into jars.
- Overcooking the Pears: Be careful not to cook the pears too long; if you make the mistake of overcooking them, the pear pulp will break down too much and render a watery jelly. To prevent this, keep a close watch on pears as they boil.
- Using Unripe Pears: Unripe pears don’t yield as much juice and may result in a less flavorful jelly. Always choose ripe Asian pears for the best flavor and texture.
- Not Sterilizing Jars Properly: If you are going to can the jelly, it is absolutely essential that you properly sterilize your jars to avoid any contamination that might spoil your product. Boil the jars and lids for at least 10 minutes before filling with jelly.
Avoiding these common mistakes will help you make perfect Asian pear jelly every time.
Enjoying Asian Pear Jelly All Year Long
Homemade Asian pear jelly tastes sweet and refreshing, and whenever you fancy a bite of Asian pears, any time of the year. It is worth canning the jelly properly to have a jar of the pear sweetness ready for whenever that little extra does make a difference. Do you use it as a spread, a topping, or a glaze? This jelly is capable of doing duty anywhere!
When the mood strikes, you might find yourself turning these delicious gifts of homemade jelly into jars to give to friends and family. Such a thoughtful gift is a perfect present for the holidays, birthdays, or housewarming parties. Asian pear jelly, with its unique flavor and natural sweetness, should be a hit with anyone who tries this product-maybe it’s somebody else’s favorite thing on earth.
Asian Pear Jelly Recipe From OohDish!
Asian Pear Jelly
Equipment
- Large pot
- Fine mesh strainer or cheesecloth
- Large spoon or ladle
- Sterilized canning jars with lids
- Candy thermometer (optional)
- Measuring cups and spoons
- Knife and cutting board
- Jar funnel (optional)
- Water bath canner or large pot for processing
Ingredients
- 4-5 medium-sized Asian pears peeled, cored, and chopped
- 3 cups water
- 2 cups sugar adjust based on sweetness of pears
- 2 tablespoons lemon juice
- 1 package pectin optional, for firmer jelly
Instructions
- Prepare the Pears: Wash, peel, core, and chop the Asian pears into small chunks. Place the pear chunks in a large pot.
- Cook the Pears: Add 3 cups of water to the pot and cook the pears over medium heat for 20-30 minutes, stirring occasionally until the pears soften and release their juice.
- Extract the Juice: Use a fine mesh strainer or cheesecloth to strain the pear juice, pressing gently to extract as much liquid as possible. Discard the pulp or save it for another use. You should have about 4 cups of pear juice.
- Make the Jelly: Return the juice to the pot. Add the sugar and lemon juice, stirring until the sugar dissolves. Bring the mixture to a boil and cook for about 10-15 minutes. Optionally, add pectin according to the package instructions for a firmer jelly.
- Test the Jelly: To test if the jelly is ready, place a spoonful of the mixture on a chilled plate. After a few minutes, run your finger through it. If it wrinkles and holds its shape, it’s ready.
- Can the Jelly: Pour the hot jelly into sterilized jars, leaving about half an inch of space at the top. Seal the jars and process them in a water bath for about 10 minutes to ensure they’re sealed properly.
- Cool and Store: Let the jars cool completely before storing them in a cool, dark place. The jelly can be kept for up to a year if processed and sealed properly.
Notes
- Adjusting Sweetness: Depending on the sweetness of your pears, you may want to adjust the amount of sugar. Taste the juice before adding the sugar to determine if more or less is needed.
- Spiced Variation: Add a cinnamon stick or star anise to the cooking pears for a spiced version of this jelly.
- Storage: Store the jelly in a cool, dark place for up to a year if canned properly. If not canning, refrigerate and use within 3-4 weeks.
- Pectin: You can skip the pectin if you prefer a softer, less firm jelly. Just ensure the juice is cooked down enough to achieve the desired consistency.

